So, what to sew next? Well, my 'go to' project when I am feeling a little down, or need to sew but don't have anything planned, it to make something small like a mug-rug, or a pouch. The thing is, I am planing on attending another bra making course in Hamilton later in the year with the lovely Beverly of Bra Makers Supplies, and I had picked up a half yard of 'bra' quilting fabric. So I made a pouch!


The lining is made from some Ikea pillowcases - we buy the cheap duvets and covers for our greyhounds to lie on. When they need laundering it is a lot easier that washing a regular dog bed of the size that would be suitable for greyhounds - they are big dogs! The pillowcases are always unused, but the print worked really well with this pouch as a lining.
Having made a lovely pouch that I will use to hold some sewing notions on my bra-making trip, I thought I'd make a bra. Just like that! I recently bought the Craftsy Class, Sewing Bras, Designer Techniques by Beverly Johnson. This course is a follow on from the basic bra making course, Sewing Bras, Construction and Fit. There were a couple of details that I was particularly interested in, the first was sewing a bra with a partial band. In other words, the band does not go under the cups. Secondly, Beverly shows you how to change the back band to help prevent bra straps falling down. I have sloping shoulders (I guess we probably all have) and this seemed an ideal opportunity to try it out.
I used my Classic Bra pattern from Beverly's Pin Up line - I have made this many times before and it is very comfortable, and then followed the Craftsy Class to make the necessary alterations. You could purchase the pattern complete, without have to made the changes, and it is called the Linda Bra. However, the pattern is $20 plus P&P, and the Craftsy course is currently on sale for $24.99, so it makes sense to get the course if you already have a fitted Classic Bra pattern. The construction is pretty straightforward, although there were a few changes in comparison to the Classic Bra, but it went together well:
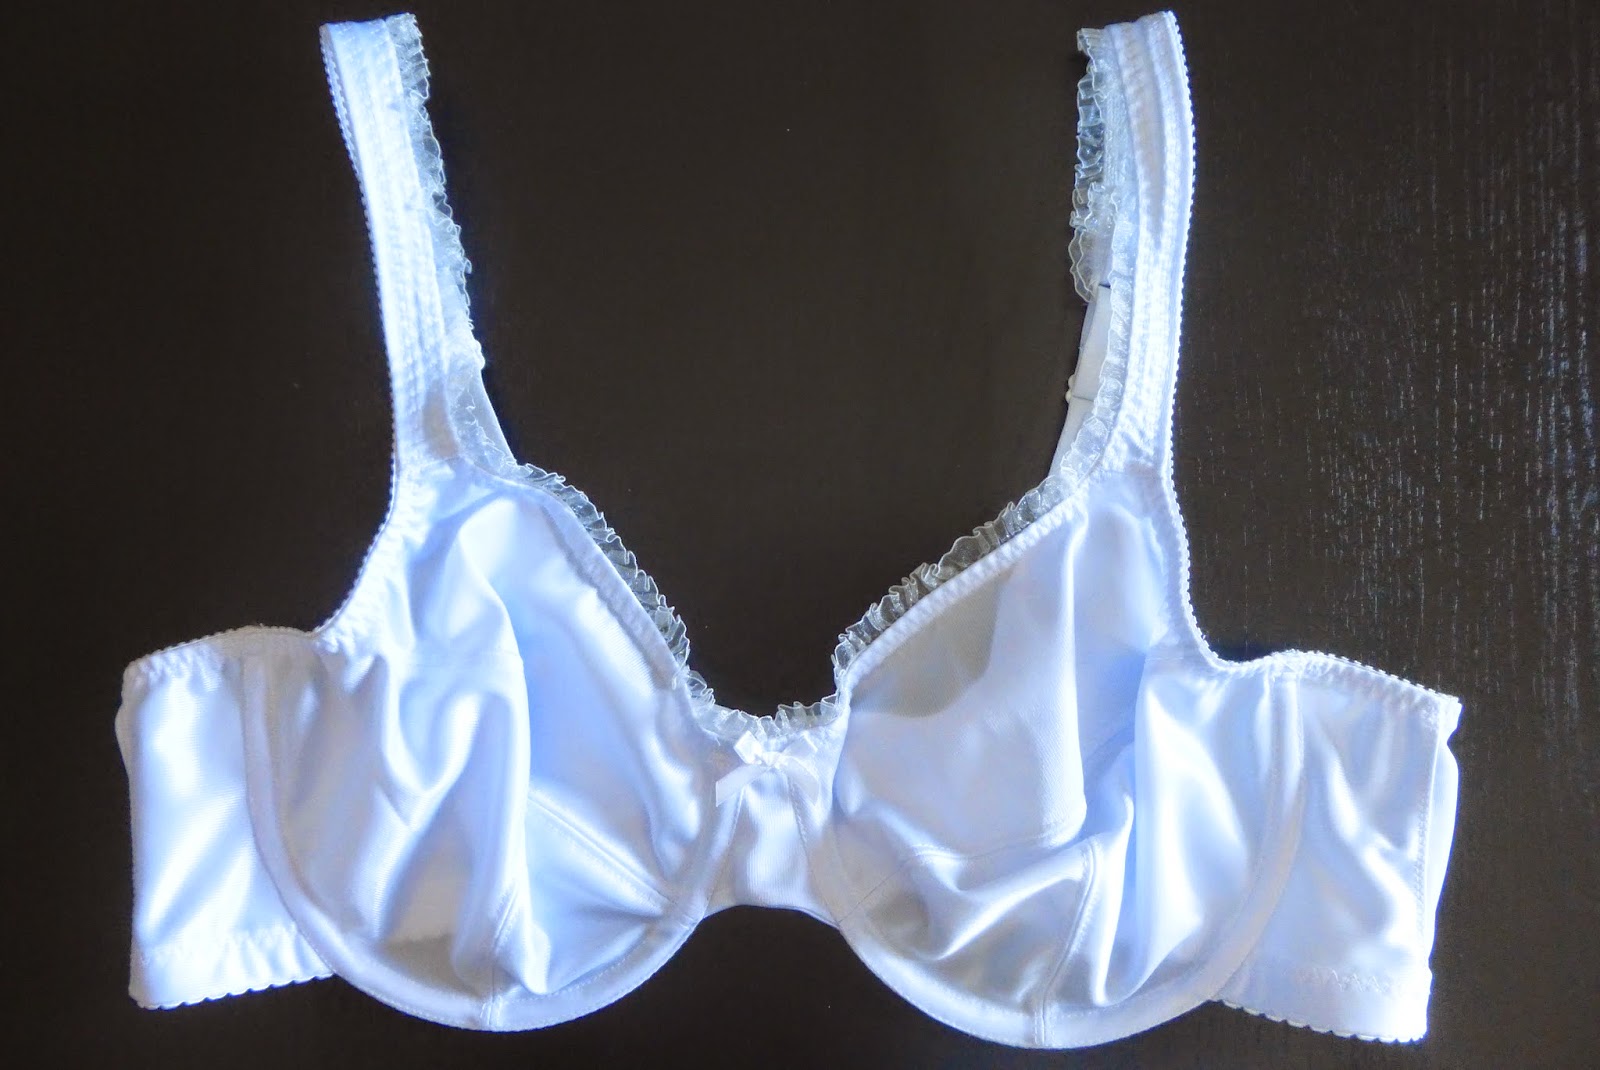


I will wear this tomorrow and give it a good 'try out'! It seems a little too big around my rib cage so I have trimmed 1/2" of the back band on the pattern. I will need to wear this bra on the middle hook and eye setting, so I think it will be OK. I also noted that the bridge does not sit flat on my chest, so I'll have to look into that. It is not out by much, so a small adjustment is probably all that is needed. Other than that, all seems good. I like the feel of there being no band under the cups, so once I have these two little issues sorted out, I will start making some fancy smanchy versions! As I have made the back band higher to help prevent the strap slippage, there is not much space for strap adjustment. I used the elastic that comes with one of Beverly's findings kits, but that only gives you a maximum of 10" per strap. I will either have to buy it by the metre in future, or see if she would add 2-3" more in a pack. I think that would do the job!
Again, I can't recommend Beverly's patterns and classes enough - I think that they are great!
So, that was my weekend sewing - how was yours?
Wow, I would buy this in a shop!!
ReplyDeleteThanks - I'll be scouring the online lingerie sites now for some more inspiration! I've just finished a 'La Senza' inspired one in turquoise . . . .
DeleteAdorable bag, and it is just perfect for you to take to your bra making class. So cute..
ReplyDeleteHave fun.
I have enough fabric to make up a few and take them with me for my classmates and instructor!
Delete