Friday, November 29, 2013

Christmas Pillowcases

I've already been through the 'obsessed with making pillowcases' posting, so all I can add are 'here are some more!'  I bought 2m of each of three different co-ordinating quilting fabrics, and this is the result:


6 mix and match pillowcases.  I love the acid green and blue combination - not your traditional Christmas colors, but they still look fabulously festive!  Four of the pillowcases have gone to the lovely Charlotte and Libby - the gorgeous daughters of friends, and the last two to my brother and his wife so that they have a festive bedroom leading up to Christmas!

PS.  It looks as though I have resolved my photographer issues, and hope to take LOADS of photos of modelled skirts shown in Skirt Snippets from a few days ago, so watch this space for an update!

Monday, November 25, 2013

Skirt Snippets

I have been really busy sewing (5 skirts, 6 pillowcases and 2 cardigans) but have not had chance to model as yet - blame it on busy weekends, lack of natural light etc., so I have resorted to taking photos of details - mostly for me as a reminder of what I sewed, when, and what finishes I used - but also to keep you up to date!

So, first off are the skirts based on Butterick 4877.  I have found that I do not need any front darts on fitted skirts, but that 4 darts (two either side of the centre back seam) at the back as well as wide side seams that can be adjusted as required, makes a very good skirt for me.  So that is what I have done!

I made one in brown cotton corduroy (Fabricland Sale 2012, $6/m) that has a bit of stretch to it.  Actually, I have to confess, this was cut out ages ago, and I found the pieces whilst looking for some lining . . . . so I finished it off!  Gotta love UFO's that you have totally forgotten about (and then found) that fit into your current sewing blitz!


I trimmed the waistband with some cheery red rayon tape.  The hand sewn hem was trimmed with brown nylon lace and the rayon (Bemberg Ambience) lining was trimmed with black lace.  It looks a little chaotic here, but it really does work well.  And it fits a dream!  A great addition to my Birch Tree Collection.

Next is another cord skirt (I love me some corduroy!!)  This is a really thin wale, also with stretch, bought last Christmas from fabric.com to make a winter skirt with.  I's only taken me a year to do it!!


I used a pretty quilting cotton offcut to trim the waistband, cheap nylon lining (couldn't find any suitable rayon lining), and white lace to finish it off.  This fabric was featured in my Birch Tree Collection.

I then made a skirt from some gorgeous rayon/poly blend from Fabricland.  Other than the fact that it unravels like nobodies business, it is perfect in every other way - washes well, hangs beautifully - great drape and weight.  Lovely, lovely fabric, and another that was 70% off.  Wish I had bought more.


Same finishes as before, including an invisible zip.  I lurve invisible zips!!

The inspiration for the next skirt was a blog post by Funnygrrl and it uses Butterick 5687 - a 'wardrobe' pattern that includes a straight skirt with ruffles on the back.  As I do not have a mind of my own - OK, because her skirt was sooo lovely, I totally copied the color as well, using a great red crepe that has a wonderful drape.


And guess what - I learned to use the rolled hem feature on my serger and it is FABULOUS - how did I manage without it?  Feeling pretty good with myself, I even sewed the hem of the skirt with my double needle - pretty fancy smancy right???  This is such a great pattern - I used my Butterick 4877 sandwiched with this pattern, and it worked out perfectly.  I will do a proper PatternReview on this at some time on the future, as I love how it turned out.  I was able to use the back pieces of '4877 to make the lining (Ambience again) and it looks/works great.  The skirt feels lovely on - and it makes me feel very sassy!!!

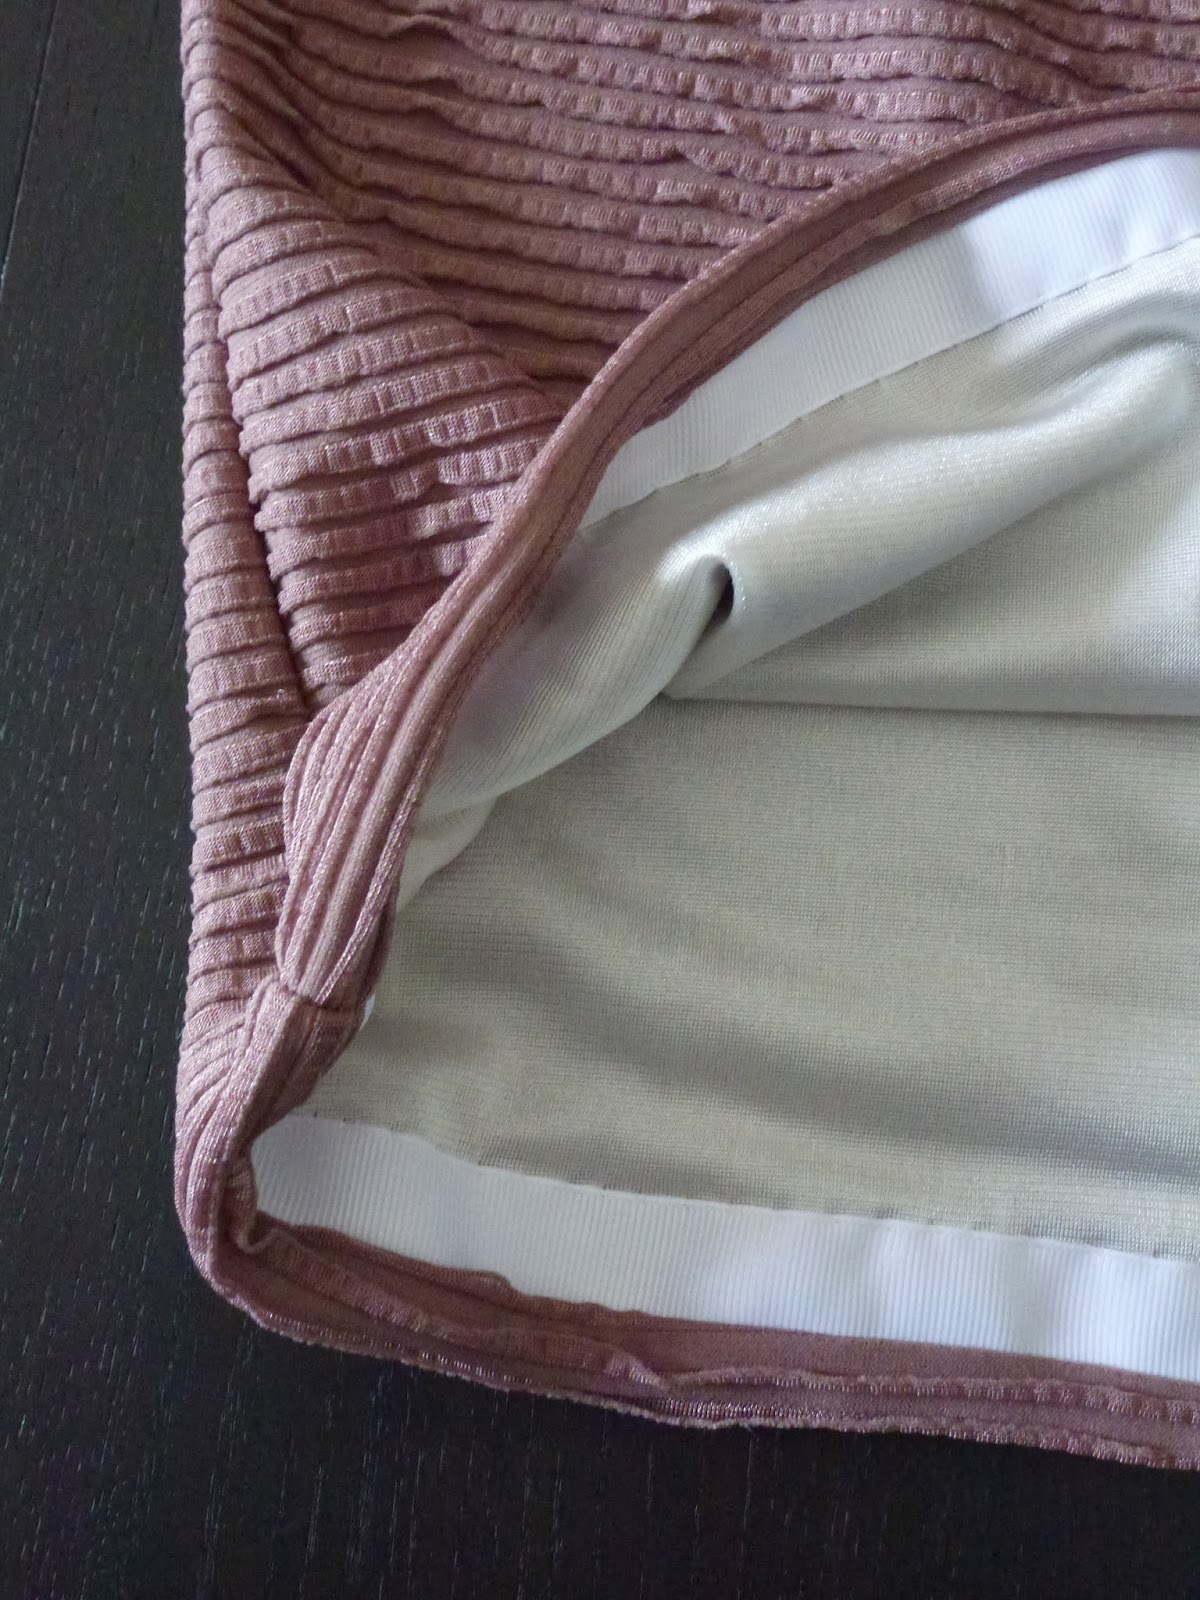
Finally, I got around to making a quick and easy skirt with some ruffle fabric that I bought from Vogue about a year ago.  The fabric itself dictates that hand sewing really does not look good, so I interfaced the pieces with a tricot knit.  I serged the tricot to the fashion fabric and treated it as one.  This skirt has an elasticated waistband, but in actual fact there is very little gathering due to the stretch.  To finish off the hem I sewed some nylon 'petersham' type tape to the bottom of the skirt, then hand sewed it to the tricot lining.  The tape gives the hem a really good, stable edge that hangs well.   I love this skirt - it is soooo cute!


Phew, there are lots of photos here, so I think I will write up a separate post for the pillowcases and cardigans that I have made - hopefully with some 'action' shots!  I am hoping to get a new camera pretty soon that I can operate via my iPhone, so I can then take pics with my tripod and not be so reliant on photographers!

All-in-all it has been a pretty productive week, and yet again  have been 'production' sewing (after all, if you can make one item, why not make four?!) and this works really well for me.

I have to ask - what technique does your serger or sewing machine perform that has been quite revolutionary for you?

Sunday, November 24, 2013

Does Your Iron Do This?


No.  I didn't think so.

A couple of weeks ago I had to spend a few nights away from home (for work), and stayed in a hotel - part of a large, well established chain.  I usually try and make sure that I have something to do in the evenings - some knitting/hand sewing - something to keep me entertained.  And this time was no exception.  Having completed the hand sewing on some skirts (a post to follow later in the week), I dragged out the hotel iron and ironing board and set to work pressing the hem and waistband . . . . and then I got a surprise!

At first, the iron just seemed to be steaming too much water.

Then it seemed a bit loose.

And then it all went wrong.


Yep, it totally fell apart.  Fortunately I managed to yank out the cord before I went all 'fizz bang' and I ended up in that great blogland in the sky.  You can see all the water that has soaked into the ironing board cover in the first photo at the top of this post.  You can also see the iPad opened as I was watching a Craftsy video at the time!!


It looks as though the iron had been dropped by a previous occupier of the room as you can see that the plastic that appears to hold the top and bottom together has just sheared away.  Pretty scary really - and I am disgusted by the person that dropped this and did not tell housekeeping.  It could have ended so differently.

I am thinking that 'flip top' irons are not a good design feature!

Saturday, November 9, 2013

We Interrupt this Programme . . . . .

OK, so I cut out a lovely skirt as part of my Birch Tree Collection when, 'oooh, shiny' I read some blogs about people getting ready for Christmas.  And that was it.  But the results were good, honest (although they will never be Christmas presents, they are mine, all mine!!)

First up was a cute little pouch to hold earbuds that I saw on Suzy Bee's blog and came from a tutorial here.  Here is my version:


I used a few charms squares from a pack I bought a couple of years ago, I think it is Moda fabric and you can see their new fabric lines here.  I really ought to do what the kool kids do and take pics of the fabric before chopping it up - I remember with my dressmaking, but not so much with quilty things!  And yes, those coins are Australian, left over from my trip in September.  The coins are HUGE!

I will get a lot of use out of this - it can hold my change for my morning coffee as well as my earbuds - I like to listen to talking books so this will be perfect!

Next up were a couple of 'tater sacks'.  This fabric was a total impulse buy when I went to purchase some other items in Fabricland - I saw the leaflet and thought it would be fun to make a bag as Mr. SDSC and I do like our baked potatoes.  So, four fat 1/4's and some batting later, I had these:


The bag with the doggies on will stay in our house (naturally) and the other bag with 'beware kangaroos' I will give to my brother and his lovely wife - they also came to Australia so will enjoy the connection.

Having got these two projects out of my head - I would not have been able to concentrate otherwise - I retreated to my sewing room (I really need to think of a good name for it!) and whilst looking for something else, I came across the pieces for a brown jumbo-corduroy skirt that I had cut out (including the lining) but not done anything with it.  I suspect that I cut is out at the end of last winter, and once the weather picked up and there was lots of Spring and Summer inspiration all around, I had another 'ooooh shiny' moment and changed tack again!  Anyway, it was great to find, and after hacking off 3" from the hem (because I am getting a little daring with my hemlines these days!) I got cracking on the skirt - all I need to do now is hem it, and it will fit perfectly into the Birch Tree Collection.  See, it all came together in the end!

Wednesday, November 6, 2013

BIrch Tree Collection

I've picked up some really nice fabrics over the last couple of weeks - some online, some local; made up of winter white, greys, browns and blacks - some great basic neutrals. There was no plan for these - just good fabrics at a great price. Then, whilst returning home from a work related trip I saw lots of clusters of birch trees by the side of the road, and the colors immediately reminded me of my fabric . . . . so a collection idea was born!

Here are a few photos of my gorgeous inspiration:


And here is my fabric:


OK, so I need some more brown in this as well - but we are talking 'inspiration' here!  The fabrics are:

Row 1: rayon textured black/white suiting, poly blouse weight black/white animal print
Row 2: wool charcoal with a cream woven stripe and a black wool with a cream woven stripe, black Ponte knit, white Ponte knit
Row 3: White cotton thin wale corduroy with a little stretch, white/brown/black poly satin blouse weight.

I plan on making a Sinbad & Sailor O'Keefe skirt with a draped front, a couple of shell tops (and I may even trial a pattern other than Sorbetto.  I know, call me crazy!!), a cardigan or two, a dress . . . . and who knows what else!  I plan this to be an ongoing collection - adding more garments as and when, as I would really like to make up this cape with some lovely fleece that I also recently bought :)

Sunday, November 3, 2013

Well, Hello Dolly!!

My birthday was in October, and Mr. SDSC was not sure what to get me (fabric vouchers/gift cards, you know, vouchers/gift cards for the names that keep appearing on the credit card!!) and he very kindly signed me up for a course to make my own dress form through our local education board. I was thrilled. I have bogged about some Palmer Pletsch courses that I took last year and earlier this year. I learned so much about my body, what alterations I need to make, that they were worth their weight in gold. The only problem is that I sew on my own - I don't have a sewing buddy/guild/meeting, and Mr. SDSC's sewing assistant capabilities are limited, so the chance to take this course could not be turned down.

The course was this weekend and typically, we had quite the dumping of snow, so I was a little late to class (don't you just hate it when that happens?). Nonetheless, attend I did, and look who came home with me? Ladies and gents, I would like to introduce you to Dolly - isn't she something? If you are in/around Calgary and want to take the course, I can thoroughly recommend it, and the tutor, Michelle is lovely. Hopefully she will now put on more courses for us - boy, we were very enthusiastic!


I have to say that I think she is great. It is really weird to see what others see of me (well OK, usually when other people see me I have clothes on, but you get my drift!!) I can really see my flat butt, and tummy bulge as well as the lack of waist definition and rounded upper back - but we are all about enhancing our attributes and disguising our flaws, right?  Oh, and it looks as though my partner may have cut me a little short on me left shoulder, so I will fix that with the next layer (see below).


I still need to put another 'layer' on her - she has to dry out for a couple of days, and then once she has been completed, she is going to be one very busy lady. I have a few plans for here - she will have a coating of spray foam on the inside to give her more stability, and I will also have her on a stand so that I can hang dresses from her. I am not sure whether I will cover her in a stretch jersey and add bust, waist (if I can find it!), hip CB & CF (etc) lines, or finish off with some decoupage. I rather like these two for inspiration:


I have already had her model a shirt that I made for myself that has an FBA, swayback and rounded neck adjustment, and it fits really well - which is confirmation that she is a good replicant (I love Bladerunner)! As Mr. SDSC says - I can now see what he sees, when I am trying on garments.


Hmmm!  I think I need to reconsider the angle at which I am taking these photos - I look like a linebacker here :)

If you would like to make one yourself, there are some great instructions here,