The classes are held in a bright and airy room in the back of the shop (Bra Makers Supply). As I did not want to bring a sewing machine with me on the plane, I rented a Janome for the week. It was rather nice to work on - but I think that you get used to your own machines, and I kind of missed my Pfaff. There were just four of us in the class - they can hold up to 9 people, so it meant that there was a lot of time that our instructors - Beverly herself, and Denise - could spend on us individually.
To get things started, we were individually measured by Beverly and she magically produced a bra (from a carefully cataloged collection of over 30 different cup/band sizes) that I tried on - and guess what, it was the most comfortable one I have ever worn! Apparently I needed a few minor adjustments - the lower cup needed to lose volume, and I need more width in the back strap. These adjustments were made by Beverly to our master pattern - we used the Classic Full Band pattern, and that included (in my case) splitting the lower cup piece into two pieces in order to accommodate a dart that would take out volume that I did not need. And then we made up a plain white bra. Since completing it, it has barely left my body - it is that good!
We used a 'non matching' thread to sew this up (I used a creamy off white) in case we needed to unpick. And that came in very handy!!!
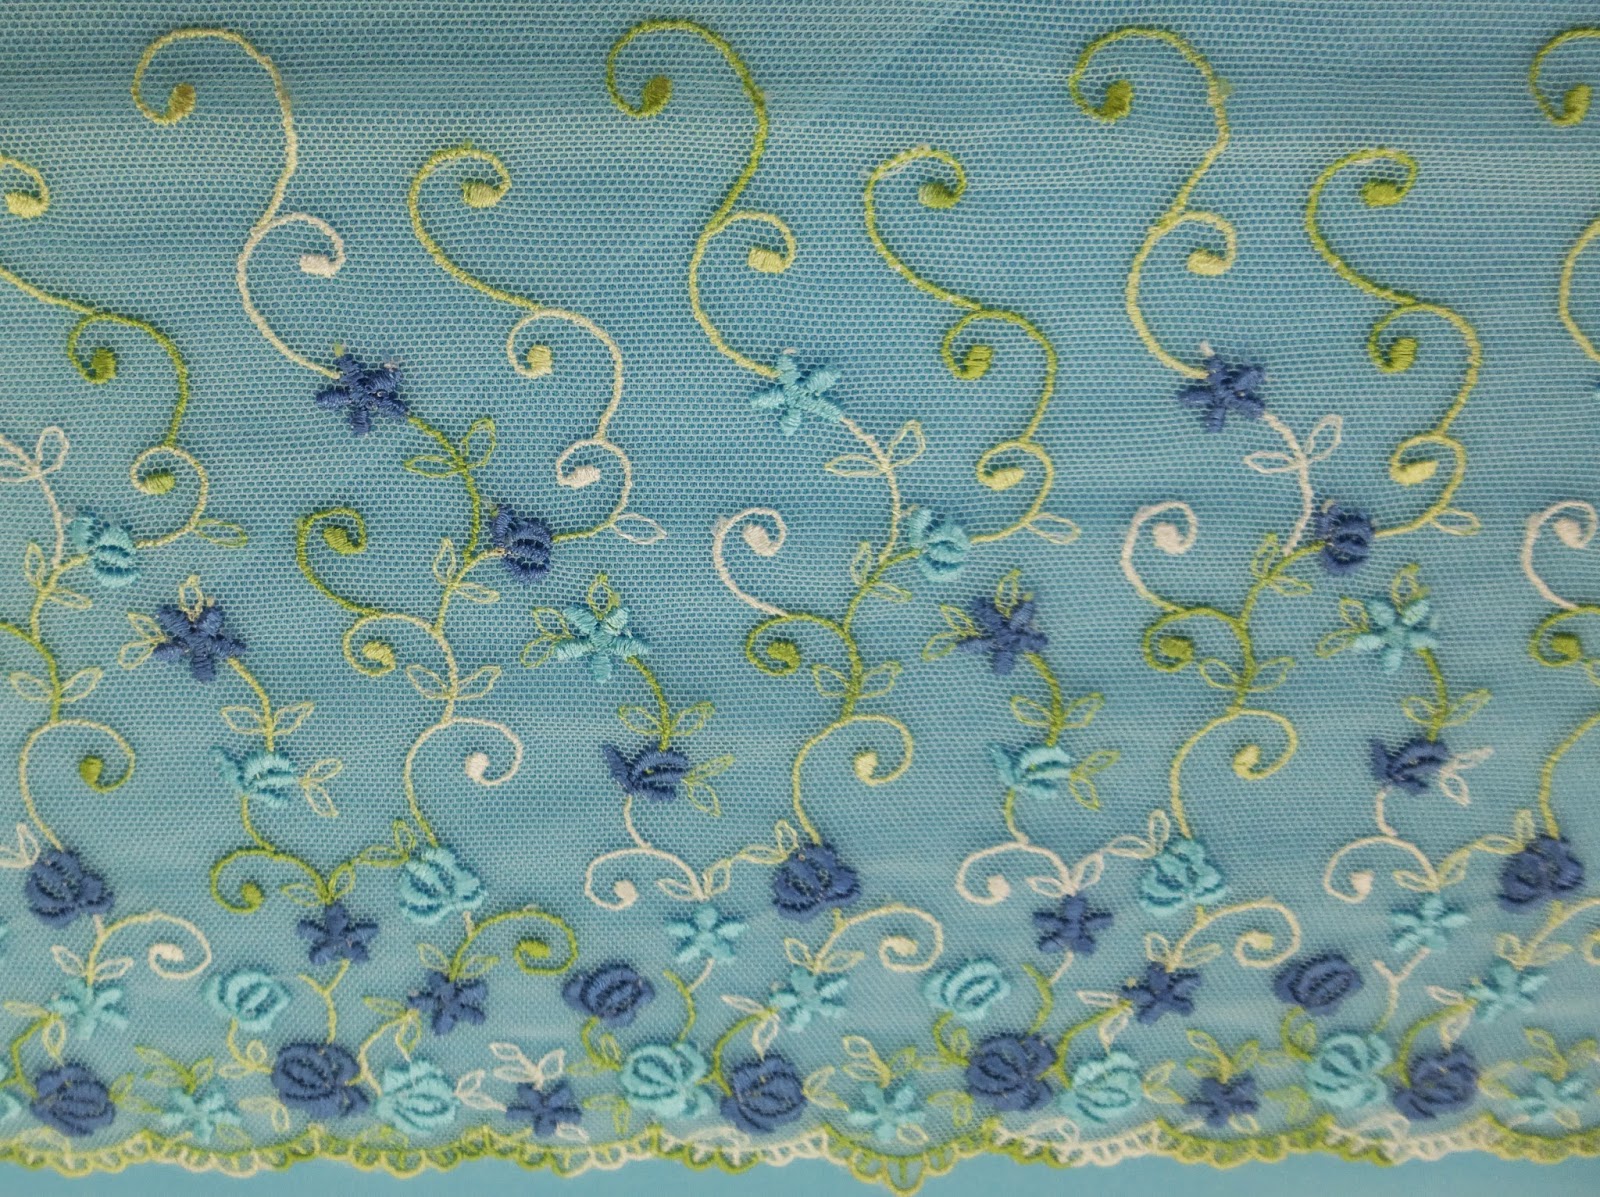
Next up was to tweak the pattern a little a use some lace. I auditioned a couple of fabrics - ivory with lace on top:
Or blue with the lace on top:
And I went with the blue - a gorgeous turquoise. There are three fabrics in use here - duoplex, a fabric with very little stretch that is used for the straps, cups and bridge (the piece that holds the cups in place and attaches to the band at the back) and powernet, a stretchy fabric that is used for the band at the back, and lace - for the decoration. I also used a handy dandy kit that had all the findings that I needed - elastics, trims, sliders etc, that co-ordinated beautifully with my main fabric.
As you can see, the lace placement makes it look like I have a butterfly on the front. I added a little lace to the side band as well. Because I can!!
And here is the finished bra - my 'ta-da' moment!!
And a close up:
Want to see what I made next? How about a cheeky black and red number?
I used a different pattern for this bra. Rather than having the elastic trim across the top of the cups, I used the finished edge of some 'oh, so lovely' lace with red embroidery. There is also another piece to the bra cup itself at the sides, so it looks as though the side of the cups morph into the straps. This is called the Shelley pattern and looks lovely on because although there is plenty of coverage with the cups - the lace allows a cheeky glimpse of skin. Very purdy!!! I have to admit to actually finishing this bra off at home, as part way through this I started on a moulded cup bra. More of that tomorrow . . . . as well as a glimpse of the inside of another fabric shop that was like an Aladdin's cave - such gorgeous, gorgeous fabrics.


This is just so interesting and intriguing! The bras look so pretty and you can obviously adjust them to fit well. I will have to see if the patterns come as PDF because I have seen nothing in the UK that I think will work with my large cup. These look PERFECT!!
ReplyDeleteGosh you're good at this.
ReplyDeleteMy biggest dressmaking fear. bra making. I have the pattern, fabric but not the nerve. They look brilliant well done. Your inspiring me.
ReplyDeleteFabulous bras and it is so nice they are custom made. Now I want to take this course but wonder if I can get there or if I should order the fabric and make my own.
ReplyDeleteWow - they are stunning. How fabulous that you can create such beautiful bras that fit and are comfortable.
ReplyDeletethey are beautiful..So happy that you got to take the course,and now will be able to make these.. Have fun.
ReplyDeleteBeautiful. And I have patterns and a kit to make up my first. Now, the nerve! TFS!
ReplyDelete