Showing posts with label phoebe. Show all posts

Sunday, February 7, 2016

Tina Givens with a Side of Krista Larson

I managed to get some good sewing in over the last couple of weeks, and have some goodies to share!

I am a big fan of Tina Givens - although I do need to make a number of alterations for the patterns to suit me.  Having said that, once those alterations are done, sewing them up in very quick and easy!  I also follow a Facebook page for Kati Koos - a shop in San Francisco that stocks TG ready made clothes as well as a number of other designers including Krista Larson.  Lots of eye candy happening there . . . . including this ensemble:


Source Kati Koos

I really liked the plaid skirt, and had seen versions (check out the Nikki skirt) that looked like the TG Patrica skirt.  So I though that I would make one . . . . . The TG Patricia skirt is essentially a deep yoke, with the main skirt attached in gathers to the bottom and gathered at the hem.  I have made a few versions of the skirt, and have added a binding at the bottom about 54" wide.  I can walk quite comfortably in this but could do with a little more stretch.  So I thought I'd try a version with a narrow 1/2" elastic in the bottom hem.


The fabric is a very lightweight 100% cotton - a lawn/hankerchief weight but not sheer.  The plaid is printed rather than woven, but the colours were lovely - a deep burgundy red, cream and teal - a bit like a dirty turquoise.


Worn here with my cream linen Zelda.


And a new cardi . . . . . I know!  This is view C from my much used McCalls 6168.  The cardi is a raised neckline - the shoulder seams continue up the side of your neck.  No facings.  I cut 1.5" strips of fabric, folded in half and pressed, and sewed them all around the neck/front/edges.  This is the same process that I use for a lot of my slips and jackets.


The fronts are really long!  I think I cut them on the cross grain instead of the straight grain and they have stretched a little.  Not a problem - but I think that explains why the front tips are longer than the pattern indicates!  The fabric is a very lightweight rayon that holds a press.  My corners were not the best, but a good pressing and they look better than they have any right to do!


There is quite a lot of fabric in this cardi - close on 3m.  I like it but I'm not sure if I'd make another.  I think I prefer the waterfall cardi's where the front pieces are extended to wrap around the back.  This will get a lot of wear though!


The fabric matches the skirt beautifully though!  And this is with a Sorbetto that is lot shorter in length.

I also finished a pair of chocolate linen Plinkas.  This is a free pattern from TG.  I was totally inspired by this version, and so I went to work!


There are lots of pleats!


These photos are taken with my TG Cara in cream linen.


I did make a few changes.  I actually mostly used the pattern  that I had adapted from the Phoebe pattern.  Basically, rather than have a one piece trouser leg, I have standard front and back pieces that fit me comfortably, and no dropped crotch.  This allows me to have side seam pockets :)  The leg widths are the same as the pattern though, as are the various horizontal pleats and the attached pleats.


I have to say that these trousers are yet another design that I enjoyed making, when I put them on I was a little unsure of the design, but now I can see photos of them being worn . . . . I love them!  I am somewhat wary of looking like an extra on 'Little House on the Prairie'.  I'm not sure if I would wear these to work - but I'd certainly wear them out and about!

So, what have you been making?

Monday, August 3, 2015

Oh Cara!

It has been a few weeks since I have made anything due to visitors (it was lovely taking them around Calgary and up to the mountains though - so no complaints!) and it was great having time to settle in my sewing room this weekend and get some sewing done.  I had a pair of Phoebe trousers and a Sorbetto top already cut out (sorry Ruth, I do love your Bamtams though and may have to give them a try soon!) - they have patiently been waiting their time to get sewn - in light blue linen/rayon and I also wanted to try the new Tina Givens pattern - Cara.  And this is what I made:

Off White Cara & Blue Phoebe Trousers


It is hard to see in these photos, but the Cara slip has two front and two back pieces so the slip is bisected horizontally between the waist and hip.


(this is the closest that I could get to a line drawing - this is taken from the instructions)

There are four points (two front and two back) and a pocket that is in the front horizontal seam.  I chose to have in-seam pockets in the side-seams and edged the neck, arm and hems with 1.5" raw edged bias binding folded in half.


I found the neckline to be a bit higher than the Jaqueline and the shoulders to be wider, giving more coverage.  I liked that!  This top is pretty wide as it flares out from the underarm.  I think for future versions I may tame this a little.


It does, of course, work really well as a layer and can be seen above with my blue Phoebe trousers (another of the five items made this weekend) and my altered Phoebe jacket (which I have just noticed that I haven't posted about as yet) . . . . not to mention a TG inspired necklace made out of Lapis Lazuli chips.


Finally with this top, the finishing touch was to add a label out of some printed linen, with my label on top.  This is the inside view, and I love it!

White Cara

With this version I chose to add some of the details from the Cara trousers - a pleated triangle insert and triangular patch pockets.


Another label - call me narcissistic, I don't mind!!  The printed fabric is from some Ikea pillowcases.  We buy the 'on sale' bedding and use it to cover the duvets that form the bedding for our greyhounds.  The pillows don't get used, so they were perfect for the labels!


You can just about make out the triangle on front - there is a better pic with the blue top!  Another great, basic slip that will work with lots of trousers and jackets.

Blue Cara


You can see the volume with this version - as much as I love it, I don't think that it looks so good without a jacket.  In seam pockets again, I prefer them to the triangle ones on the white version.


And I ran out of binding.  I thought about hunting around for some leftover blue fabric, finding the diagonal and cutting a strip . . . . and then I saw some pattern binding already cut . . . . so I used that!  I don't think that it looks too shabby!  You can see how I attach the binding - a three stitch zigzag.  It has held up pretty well on other garments - so far!


Here is the back view and the patch that is on the right side of the fabric, with my label being on the wrong side.


Looks pretty good with a jacket (I am trying to get away from the scrubs look - not sure if I am succeeding!)


Here you can see the attached triangle.  There is one centre front and one centre back.  A little funky!

Blue Sorbetto


Nothing much to say about the blue Sorbetto.  It is blue.  And makes a nice alternative to longer slips.


I have quite a few so I mix them in with my Phoebe trousers and jackets!


Finally, I wanted to show the new necklace that I made using some cultured pearls and a key . . . .!


Phew, lot of photos - hope I didn't loose you part way through!  Although we are in the middle of a gloriously hot summer, I think I may have to turn my thoughts to Autumn,  How about you - are you still sewing Summer?

Wednesday, July 1, 2015

Details

There are no two ways about it - when I sew I often make two or three garments at the same time, perfecting the seams/buttons/hems/other details and making the most of fabric that uses the same colour thread in my serger!  This last weekend was no different.  I decided to make three linen jackets based up the Tina Givens pattern, Phoebe.  I have made up some plain versions of this and they are very wearable, so although I do not have photos of the complete garments (maybe tomorrow!) I do have some close ups of the details that I am particularly pleased with, and wanted to share.

Firstly, I noticed that one of the features of many layered looks is to have fabric patches attached inside the garment and outside.  For some designers it is a place for them to add their logos or brand names . . . . And I thought that I can do that!  So I sewed my 'Spotty Dog' clothing labels onto some coordinated fabric and made 'inside' patches on my jackets:


As you can see, I zigzagged near to the edge and (gasp!) left the edges raw.  I'm really getting into the raw edges . . . . . and I kinda like it!

I didn't want there to be a random rectangle of stitches showing on the right side of the fabric . . . so I added a patch in the same fabric as the main fabric:


Yeah, I know, the last photo is a little boring!!!  I like the look of these inside/outside patches so much that I have 'retro-fitted' a couple of slip dresses that I have made/worn/washed and added patches to them as well.  I have found that the patches do fray a little - I trim any stray threads, and that leaves a soft edging to the patches which is similar to the bias binding edges that I have been adding to necklines and hems.

I've also had some fun with button and button band facings:


These buttons are plain silver metal - the pattern on them looked a bit like the weave that you can get on leather buttons that are often sewn on woolly cardigans.


These are just ordinary self covered buttons . . . . . and I used a co-ordinating 1" lime green ribbon for the button band.  I have started using smaller plain buttons on the wrong side of fabric when attaching heavier buttons to the right side.  I find that this gives the buttons more stability and I think that it makes the wrong side (the side that you can see below) look much tidier.


Again I used some metal buttons - but oh boy, what a find - there are greyhounds on the buttons!  As I am the happy Mom to two greyhounds, I am thrilled with these!  I sewed them onto an off-white jacket as I knew I would be wearing this a lot.  I will now be chasing up my other local fabric shops to try and find more of these buttons!


And on the wrong side I used a plain cream ribbon for the button band and some small off white buttons to back the larger metal buttons on the front.

Do you have some 'patented' details or trims that you use that really 'make' your garments?

Sunday, June 21, 2015

Adding to the TG Wardrobe

I am happy to say that I have been wearing my TG (Tina Givens) wardrobe as often as possible - I am still struggling with what to wear when it is cold or wet (fortunately that does not happen very often at this time of the year), so the clothes have had a good workout.  One interesting result of this was that it identified gaps, and what I needed to flesh out the collection.  So I made a few more pieces . . . .

First off was another jacket from the Phoebe pattern in a light blue linen:


The only changes to this version was that I made self covered buttons and used the raw edged bias binding on the front, as well as the hem and neckline.

By now I was on a jacket drive . . . . and I made one in white linen with some metal buttons.  This time I faced the front edges with ribbon:


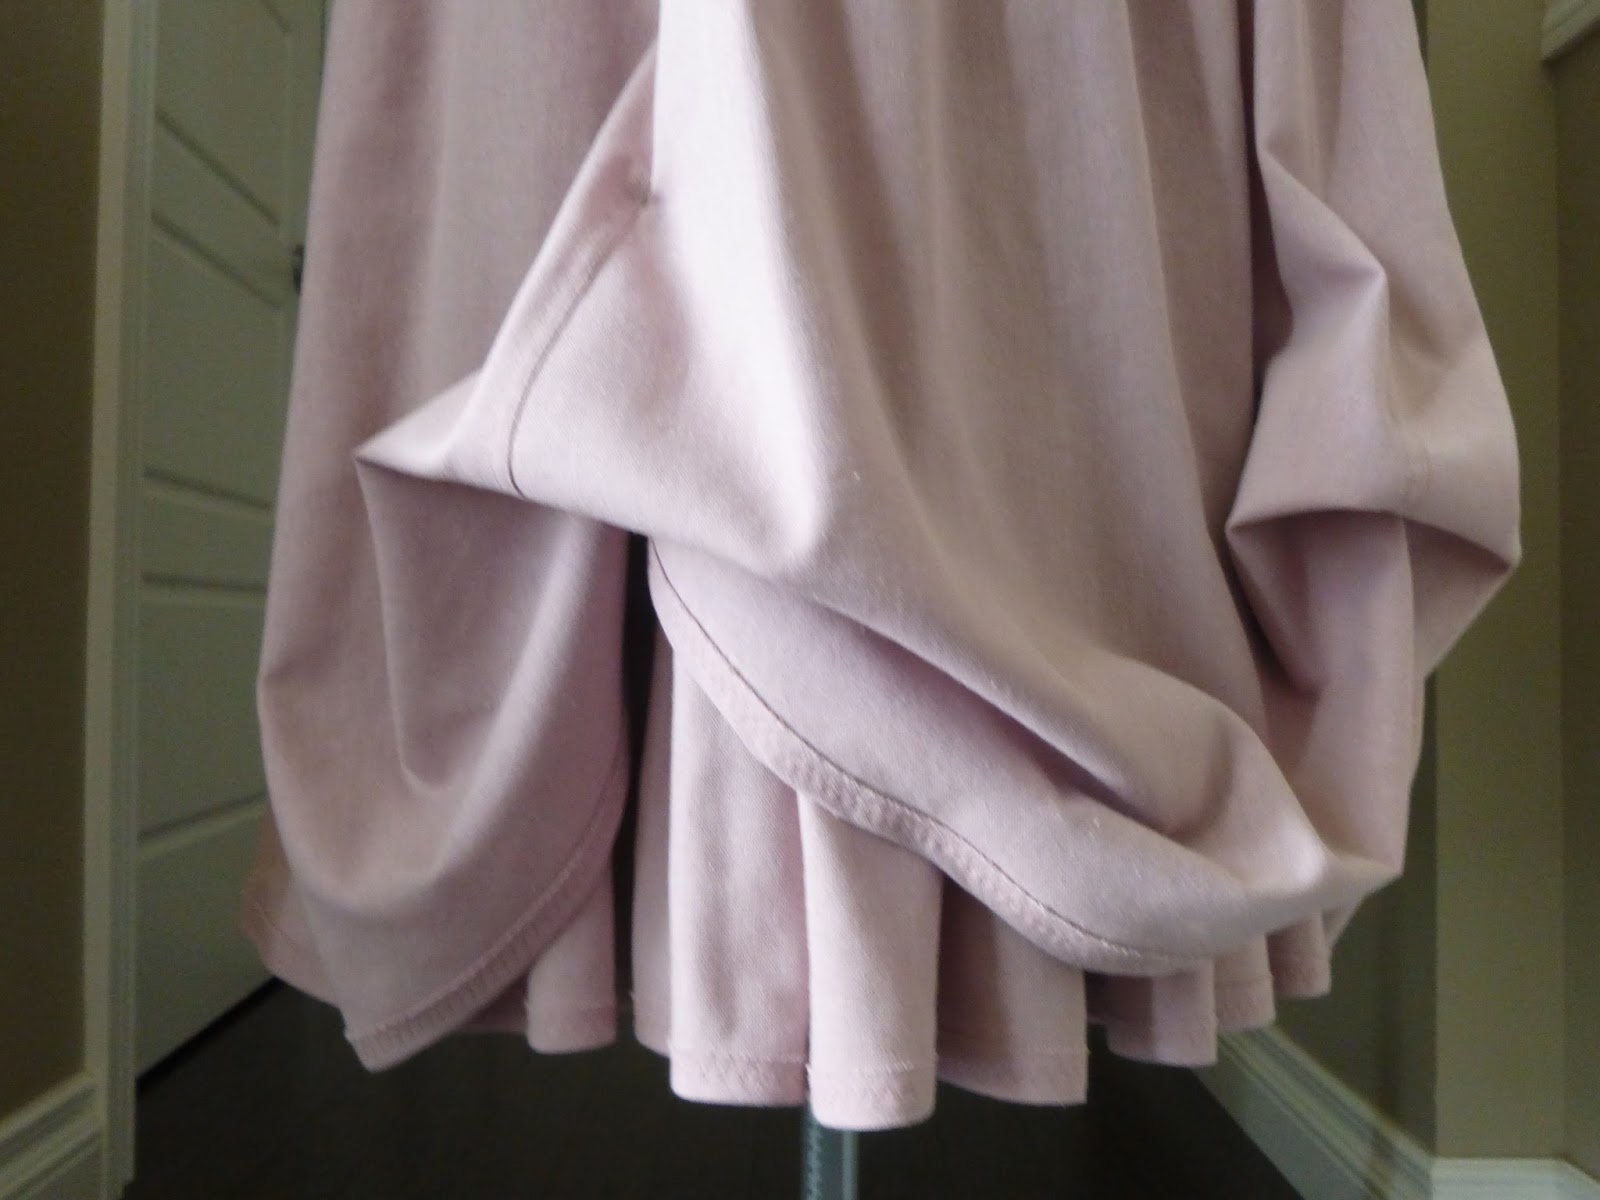
And what was that you could see peeking through on the first photo of this jacket?  Yep, you are quite right . . . . a dusky rose skirt (Simplicity 4221)


I should mention that my twin is somewhat skinnier that me - ans when I wear this it does not bunch up so much at the waist . . . . !


I managed to use up a scrap of Bemberg fabric for the lining part of the skirt, and free-hand pleated three widths of fabric for the underskirt frill.  It gives a lot of volume, but also adds weight.  If I make this again, I will not use so much fabric for the frill - but as I had serged and triple stitched the frill on - it's not going anywhere!  I used snap on poppers and ribbon to gather the skirt up, and all in all I am very pleased with these garments.  I know that I will be making at least two more garments - a pair of light blue pants to match the blue jacket above, and another off white jacket.  I did make one previously, but I did not put in a back seam, and I really need one to make the jacket fit me better.

What have you been up to this month?