Showing posts with label pouches. Show all posts

Sunday, September 20, 2015

Haute Handbags

Gosh, was that Summer over and done?  It certainly was a lovely Summer, but I'm thinking that we have now seen the best of it.  The nights are drawing in, and we have even had to switch the heating on a couple of times.  While I deliberate over what my Autumn sewing will look like (I do have a couple of other Summer Lagelook items to photograph and show you), I saw this magazine on the racks . . . . and I was inspired to play:


And inside I saw this bag (and yes - those are tabs marking a few other bags that I may have a go at making!):


Here it is a bit closer:


There are a few patterns in the magazine - unfortunately this was not one of them, so I made my own, using dimensions from a pretty bag I bought back from Australia a couple of years ago.  I used a couple of bundles of fat squatters that were for sale in my local craft shop.  The fabric was a canvas/denim weight and comprised of white, denim blue and stripe.

Here is my version:


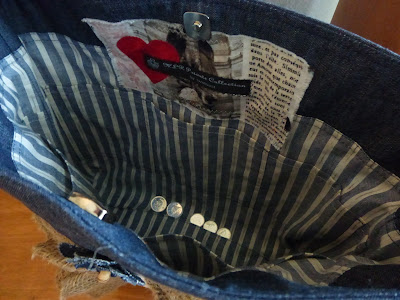
It is probably about 12" square and I lined it with some striped shirt fabric left over from another project.  You can just about make out the internal pockets - there are three or four on each side to keep my odds and ends in so hopefully I won't need to rummage around for things too much!  the outer layer has some fusble fleecy facing attached (the type that I use when I make small bags and pouches).  The hessian and white band  are on the front only and the hessian came on a roll - it is about 6" wide.  I retro-fitted  the magnetic closing.  I wasn't going to have one but the bag gaped open and a closure was required.  Fortunately I turned the bag through the lining at the bottom, so it was easy enough to unpick that seam, add the closure, and then sew it back up again.  I have not trailed the bag yet - I will take it for a spin, and if the dimensions work out, I'll make another in more 'un-summery' colours!

Next week I am off on another bra making class with Bra Makers Supply in Hamilton Ontario, where I will be learning how to make alterations to 'fit every body'  Can't wait!  The ladies at the shop are lovely, so I made a few pouches for them out of some bra patterned fabric . . . .


I have made six in total - I hope they like them!

How is your sewing coming along?  Have you moved into Autumnal sewing yet?

Sunday, April 12, 2015

Back to Basics

I have to say that I had a great time with my TG sewing, and when I finished the pieces that I had in mind, I was at a bit of a loss as to what to sew next.  It is almost like coming down off an adrenalin rush, well not really, but there is definitely some kind feeling of loss.

So, what to sew next?  Well, my 'go to' project when I am feeling a little down, or need to sew but don't have anything planned, it to make something small like a mug-rug, or a pouch.  The thing is, I am planing on attending another bra making course in Hamilton later in the year with the lovely Beverly of Bra Makers Supplies, and I had picked up a half yard of 'bra' quilting fabric.  So I made a pouch!


The lining is made from some Ikea pillowcases - we buy the cheap duvets and covers for our greyhounds to lie on.  When they need laundering it is a lot easier that washing a regular dog bed of the size that would be suitable for greyhounds - they are big dogs! The pillowcases are always unused, but the print worked really well with this pouch as a lining.

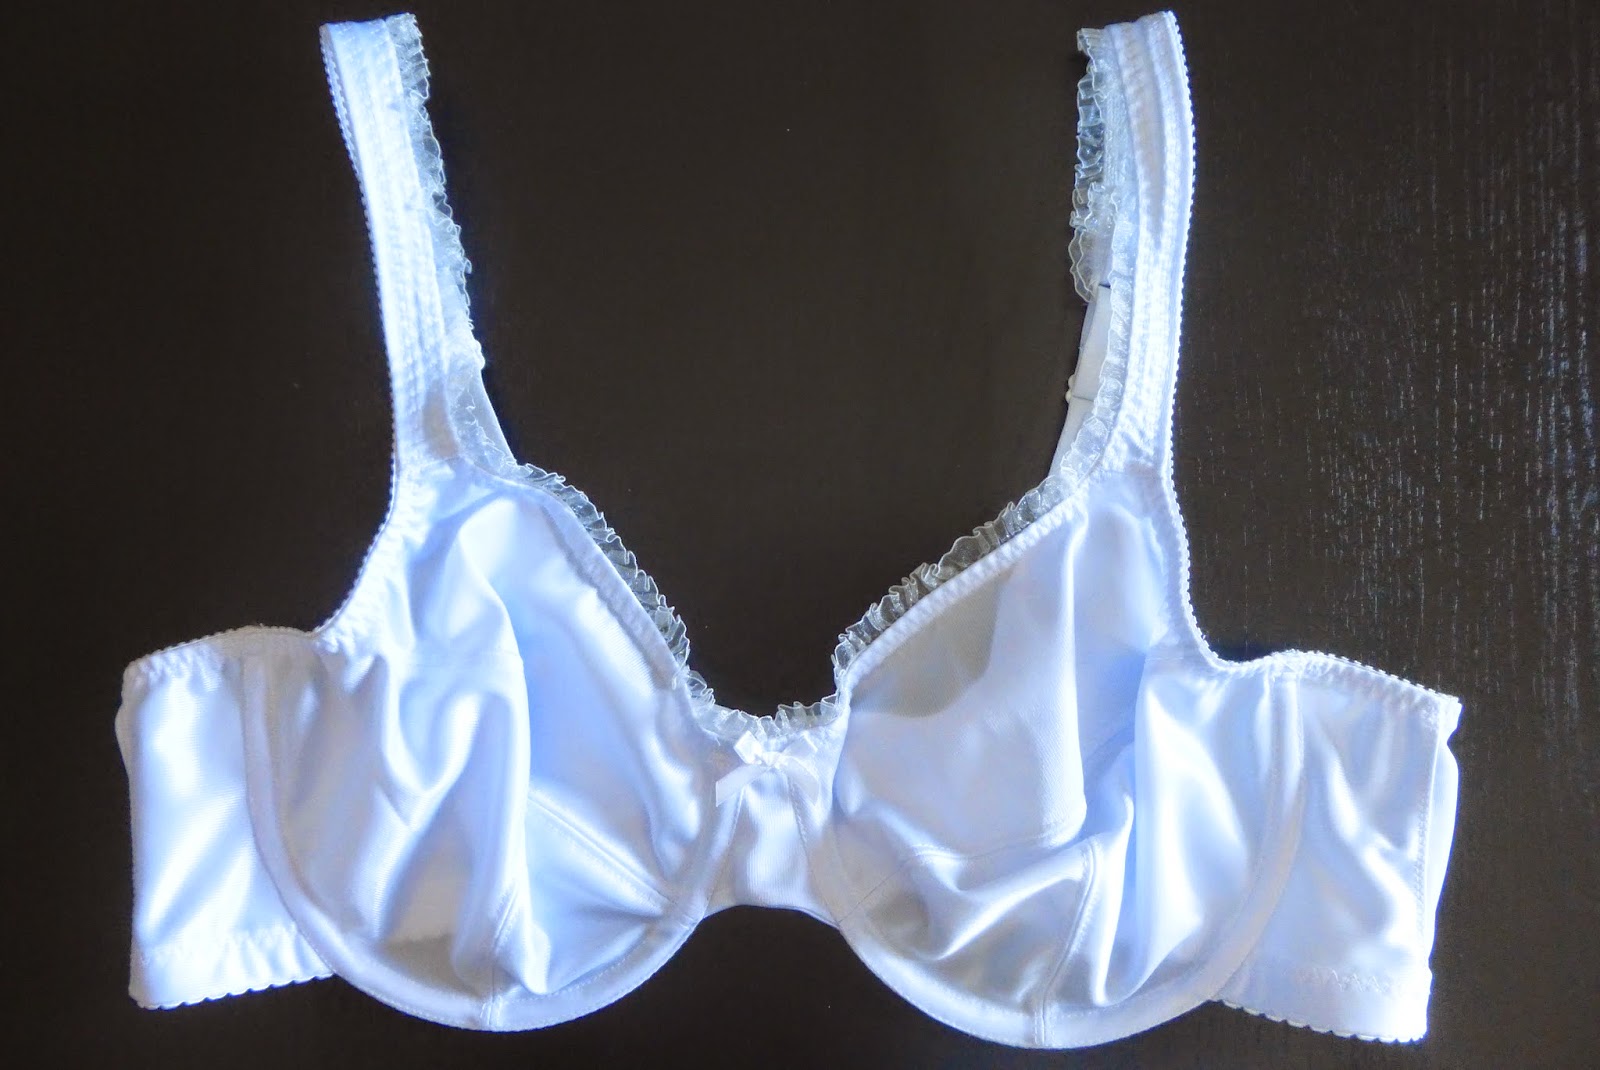
Having made a lovely pouch that I will use to hold some sewing notions on my bra-making trip, I thought I'd make a bra.  Just like that!  I recently bought the Craftsy Class, Sewing Bras, Designer Techniques by Beverly Johnson.  This course is a follow on from the basic bra making course, Sewing Bras, Construction and Fit.  There were a couple of details that I was particularly interested in, the first was sewing a bra with a partial band.  In other words, the band does not go under the cups.  Secondly, Beverly shows you how to change the back band to help prevent bra straps falling down.  I have sloping shoulders (I guess we probably all have) and this seemed an ideal opportunity to try it out.

I used my Classic Bra pattern from Beverly's Pin Up line - I have made this many times before and it is very comfortable, and then followed the Craftsy Class to make the necessary alterations.  You could purchase the pattern complete, without have to made the changes, and it is called the Linda Bra.  However, the pattern is $20 plus P&P, and the Craftsy course is currently on sale for $24.99, so it makes sense to get the course if you already have a fitted Classic Bra pattern.  The construction is pretty straightforward, although there were a few changes in comparison to the Classic Bra, but it went together well:


I will wear this tomorrow and give it a good 'try out'!  It seems a little too big around my rib cage so I have trimmed 1/2" of the back band on the pattern.  I will need to wear this bra on the middle hook and eye setting, so I think it will be OK.  I also noted that the bridge does not sit flat on my chest, so I'll have to look into that.  It is not out by much, so a small adjustment is probably all that is needed.  Other than that, all seems good.  I like the feel of there being no band under the cups, so once I have these two little issues sorted out, I will start making some fancy smanchy versions!  As I have made the back band higher to help prevent the strap slippage, there is not much space for strap adjustment.  I used the elastic that comes with one of Beverly's findings kits, but that only gives you a maximum of 10" per strap.  I will either have to buy it by the metre in future, or see if she would add 2-3" more in a pack.  I think that would do the job!

Again, I can't recommend Beverly's patterns and classes enough - I think that they are great!

So, that was my weekend sewing - how was yours?

Saturday, February 21, 2015

Fit for a Queen

The lovely Mrs Mole who blogs about the brides who come to visit her, over at Fit for a Queen, has recently featured my disaster with McCalls 6844, a pattern that seems to universally popular . . . . except with me.  She has a 'Sew Bad Saturday' feature - which she describes as:

'let the pattern makers see what happens when real people with real bodies try to re-create their visions on the front of the envelope. Get helpful comments and suggestions from other sewers thinking about venturing into purchasing your pattern choice…in other words…save them the trouble!'

Do take a look - it may save you some time and money!!  And if you have something to contribute - let her know, we are all in this together after all!

In the meantime, I've been making some more cute pouches that are being auctioned to raise money for Galgos del Sol:


I hope that they raise lots of money!

Friday, January 2, 2015

The Princess and the Pea

In August I wrote a post about some little dollys that I was making that would fit into an Altoid tin.  The pattern was called Princess and the Pea by Larissa Holland, and although I had made two sets of Princesses, I was just not very happy with the Princess.  I loved the bed and how the tins worked, but the wooden beads on the hands and feet bothered me.  A few weeks ago, Shiny Happy World released a 'Christmas Elf' pattern that dealt with the bead issue - but the face just didn't feel right.  What to do?  Why, take the good bits from both pattern and create a hybrid . . . . now I'm happy!


And here we are, 6 sets later - I love them!  I would have loved one of these when I was little.  I used to make my own toys (no need to shed a tear, I just had a vivid imagination and loved making things!)  I decided not to make the 'wardrobe and mirror' from the original pattern - 12 Altoid tins means an awful lot of mints!


Each dolly has a bed with four mattresses - one has the 'pea' on it, a pillowcase and a bedspread.


Here are a few more pics - just for kicks!


All the bedding fits inside a tin nicely!


This last photo reminds me of a scene from 'Gone with the Wind' where all the unmarried girls have to go upstairs and have a snooze before continuing with a daytime party.

As I have a bit of a pouch fetish, I thought that I would make these wide mouth pouches (a similar pattern can be found here on Noodlehead's blog), aaaand I'm done!  Phew, that was a marathon - it was fun, but making up SIX sets was a little tiring.


Unfortunately there were some decapitations going on with the 'Frozen' fabric - I bought a half yard a squeezed all six bags out of it - along with the drastic hair cuts!

Although I made the dollys and bed in between Christmas and New Year, I didn't finish the pouches until the New Year - so these serve to be my first makes of 2015.

How are your first makes coming along?!