Showing posts with label Craftsy. Show all posts

Tuesday, January 5, 2016

12th Day of Christmas - What's Next?

Well, what a great Christmas and New Year break that was.  Back to work on Jan 4th after just over two weeks off.  Managed to get lots of sewing, knitting and blogging done - I like to think that it is good practice for retirement.  Although about 5-10 years off, it is kinda fun to try it out and see if it 'works'.  It does, I tell you, it does!

I also managed to get more familiar with using my Apple Mac and the photo editing - I was easier on my old machine and Picasa, but I'm getting to used to this now.  Having said that, the 'Previous Ramblings' (the column on my blog to the right of this post that lists previous posts) and selecting posts from past months does not seem to work.  If I click on '2014' I do not get the months and the posts to select.  Not sure if this is a 'Mac' thing or not - will try it on my work machine.

I'm all ready to get cracking on the SWAP for 2016, (I mentioned that yesterday) and also have some other plans.  I'd need to make a longish wool coat for winter.  I have a big down jacket which works well, but I'd like a coat similar to McCalls 4673.


I'd also like to make some lingerie - cami tops and tap pants.  I took the Craftsy 'Sewing Lingerie' course (by Alison Smith - I can't link to the class as I am enrolled), and it was rather good and it has inspired me to make some frillies!  There will also be some Lagenlook garments in the future (I have a slip and a tunic already cut out), as well as some bags.  I am putting in a proposal to teach a bag making class at one of my local fabric shops, My Sewing Room, and I am looking forward to that.

Finally, I picked up some rayon knits in the sale . . . . they were from the 'bargain centre' area of the fabric store, lots of 'unknown fibres' and bolts with the labels ripped off.  They usually sell for about $4-5/m, so at 50% off, I may have gone a little nuts.  I've cut out a two piece dress and a cardi in some lovely deep purple rayon/cotton jersey, so they will be making an appearance in the future!

How about you - what are your plans for the year?

Sunday, April 12, 2015

Back to Basics

I have to say that I had a great time with my TG sewing, and when I finished the pieces that I had in mind, I was at a bit of a loss as to what to sew next.  It is almost like coming down off an adrenalin rush, well not really, but there is definitely some kind feeling of loss.

So, what to sew next?  Well, my 'go to' project when I am feeling a little down, or need to sew but don't have anything planned, it to make something small like a mug-rug, or a pouch.  The thing is, I am planing on attending another bra making course in Hamilton later in the year with the lovely Beverly of Bra Makers Supplies, and I had picked up a half yard of 'bra' quilting fabric.  So I made a pouch!


The lining is made from some Ikea pillowcases - we buy the cheap duvets and covers for our greyhounds to lie on.  When they need laundering it is a lot easier that washing a regular dog bed of the size that would be suitable for greyhounds - they are big dogs! The pillowcases are always unused, but the print worked really well with this pouch as a lining.

Having made a lovely pouch that I will use to hold some sewing notions on my bra-making trip, I thought I'd make a bra.  Just like that!  I recently bought the Craftsy Class, Sewing Bras, Designer Techniques by Beverly Johnson.  This course is a follow on from the basic bra making course, Sewing Bras, Construction and Fit.  There were a couple of details that I was particularly interested in, the first was sewing a bra with a partial band.  In other words, the band does not go under the cups.  Secondly, Beverly shows you how to change the back band to help prevent bra straps falling down.  I have sloping shoulders (I guess we probably all have) and this seemed an ideal opportunity to try it out.

I used my Classic Bra pattern from Beverly's Pin Up line - I have made this many times before and it is very comfortable, and then followed the Craftsy Class to make the necessary alterations.  You could purchase the pattern complete, without have to made the changes, and it is called the Linda Bra.  However, the pattern is $20 plus P&P, and the Craftsy course is currently on sale for $24.99, so it makes sense to get the course if you already have a fitted Classic Bra pattern.  The construction is pretty straightforward, although there were a few changes in comparison to the Classic Bra, but it went together well:
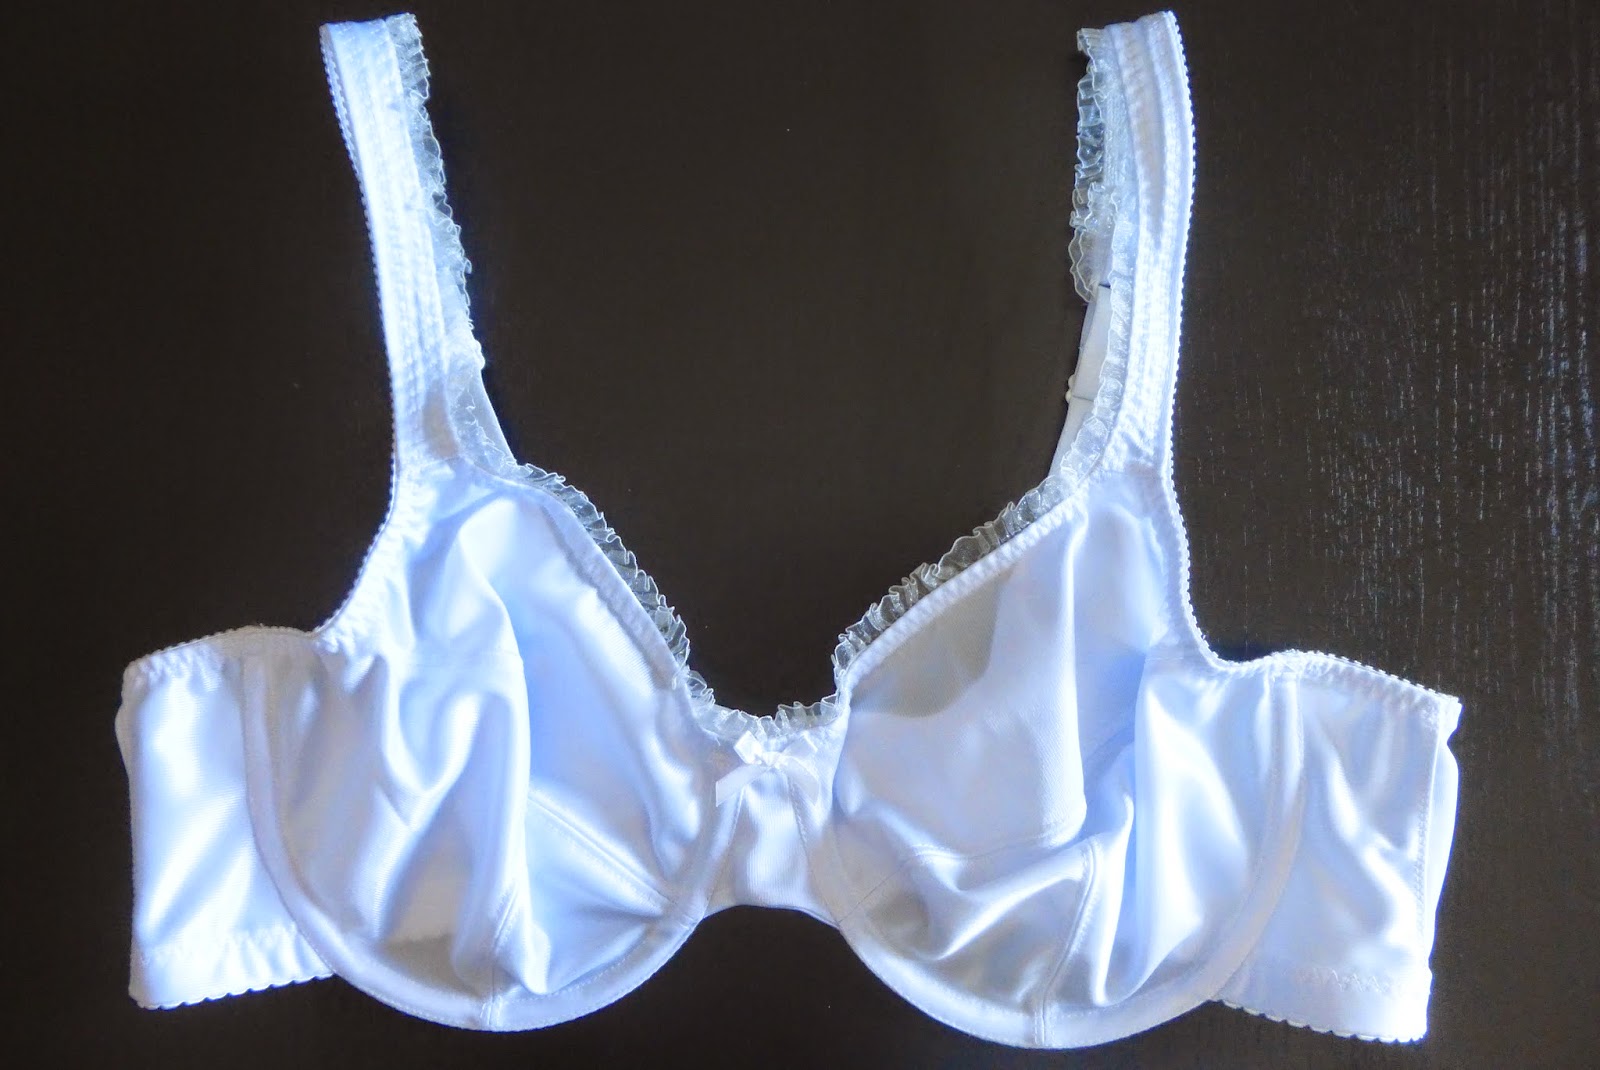


I will wear this tomorrow and give it a good 'try out'!  It seems a little too big around my rib cage so I have trimmed 1/2" of the back band on the pattern.  I will need to wear this bra on the middle hook and eye setting, so I think it will be OK.  I also noted that the bridge does not sit flat on my chest, so I'll have to look into that.  It is not out by much, so a small adjustment is probably all that is needed.  Other than that, all seems good.  I like the feel of there being no band under the cups, so once I have these two little issues sorted out, I will start making some fancy smanchy versions!  As I have made the back band higher to help prevent the strap slippage, there is not much space for strap adjustment.  I used the elastic that comes with one of Beverly's findings kits, but that only gives you a maximum of 10" per strap.  I will either have to buy it by the metre in future, or see if she would add 2-3" more in a pack.  I think that would do the job!

Again, I can't recommend Beverly's patterns and classes enough - I think that they are great!

So, that was my weekend sewing - how was yours?

Wednesday, January 1, 2014

Happy New Year - and my resolutions!

Any sore heads this morning?  I hope that 2014 finds you safe and well and that you managed to have some time over the Christmas/New Year to indulge in some sewing!

As with many others, I have been thinking long and hard about resolutions for this year.  2013 was a great year sewing-wise for me (see my review post) and I really want to capitalise upon the great garments that I now have in my wardrobe and fill in the gaps that I have left.

So these are my sewing plans for 2014:

1.  Sew a Chanel style jacket.  One of my Christmas pressies was Couture Sewing: The Couture Cardigan Jacket- Sewing Secrets from a Chanel Collector by Claire Schaefer.  I have also signed up for the Craftsy Class Sewing an Iconic Tweed Jacket - so I think that I am good to go!  I have some fabric in mind, and I am excited to get started!

2.  Proper, fitted trousers.  Like these ones.


I want to try a front fly, and I like that these have a lowered, quite wide waistband.  I plan to make some work trousers as well as casual ones and a pair or two of jeans.

3.  Wrap dress.  I picked up this pattern in a sale a few weeks ago.


I like that it has a few different sleeve options and is sized for different cup sizes - I am a 'C', so I am interested to see what difference this kind of pattern will make.  It has a centre back seam so I can make adjustments to accommodate my curved upper back, and they seem to be so flattering on ladies of all shapes and sizes.

I will continue my 'RTW Fasting' through Goodbye Valentino  - last year I only purchased one t-shirt that I picked up whilst on vacation in New Zealand.  And I'm good with that!

A couple of other plans I have for this year are to knit more socks.  I love handknitted socks and had to pretty much eliminate knitting last year due to a tendon issue called De Quervains syndrome, however, cortisone injections (and maybe surgery) are my friends, and right now I can knit!

And finally, Mr. SDSC bought me a spinning wheel - a very cute Ladybug.  I went to a summer show in 2013 and tried my hand at spinning - it was great fun.  So, I want to play with more fibre in the future.  And talk Mr. SDSC into buying some sheep and a couple of alpacas!!!

Monday, July 1, 2013

A New Shirt for Mr. SDSC

I have been promising to sew a shirt for Mr. SDSC for as long as I can remember.  He really is a good sort.  He built me some great units in my sewing room to house my fabric collection/patterns etc., he doesn't complain when I disappear into said room for hours at a time, he is the main photographer on my 'shoots', and even helps me pin garments in areas I can't see/reach.  So, after many pleas from him, I splashed out the cash on the Tailored Shirt Class from Craftsy which included Kwik Sew 3422.


I dipped in and out of the Craftsy class (I haven't seen it all the way through yet!!) and also referred to a fabulous You Tube video by a great lady called Jacqueline Johnson.  Her way of attaching a collar is fabulous - I had really 'tight' edges.  Thank-you Ma'am!

A request was made for this shirt to just have a collar stand - no actual collar, so I was happy to oblige  I also decided not to add the front pocket.  I'm like that!!  The fabric is a woven cotton that I bought from Marshall's when I was in Edmonton on a business trip.


I am really pleased with this shirt.  It came together surprisingly easily and looks rather professional.  I used the seam allowance that the pattern had built in - 1/4" and my 1/4" foot - easy peasy!  Some of the seams (adding the sleeves to the armholes and the side seams) I serged and then sewed down those seams.  That gave a 'faux fell' seam look that is great for this wearable muslin.


Comments from the man himself?  He loves it (phew)!  He likes that it is longer than most of his other shirts - which is good as he is just over 6ft and needs the length.  The thought that the sleeves were a little baggy in comparison to his RTW shirts, so I will take a look at them and try a slimmer sleeve next time round.

My thoughts?  I would like to try fitting the yoke to his shoulders and upper back.  I think that would make the shirt hang better.  I need to be more aware of lengths - for example the plackets were fitted, the cuffs added and then I realized that the placket lengths were a slightly different - not enough to cause a problem, but I just need to measure the length prior to attaching the cuff.  Other than that, I can't recommend strongly enough Kwik Sew 3422, the Craftsy class, the Jacqueline Johnson video and also David Coffins' Shirtmaking book.  I will certainly be making this again and although this took quite some time, I am sure that I can shave a lot of time off the process next time round.  I have a lovely black cotton poplin with just a touch of lycra in it and I think that would look great.

Outtakes

This was Mr. SDSC's first photo shoot - he is usually on the other side of the camera, so he found it kind of hard to concentrate . . .


More info can be found on Pattern Review and I've loaded and more photos on Flickr.

Final view:

Mr. SDSC asked for a label to be inserted.  Your wish is my command, Sir :)