I am happy to say that I have now completed my
6PAC Winter Collection for the Stitchers Guild sew-a-long - and here is the proof! Just a quick warning before you start - this is a monster post . . . !
I made two skirts - a straight one and a 4-gored one, two tops - one with a polo neck, one with a round neck and two cardigan/jackets. So without further ado. . . I give you my
Ikat Winter Collection:
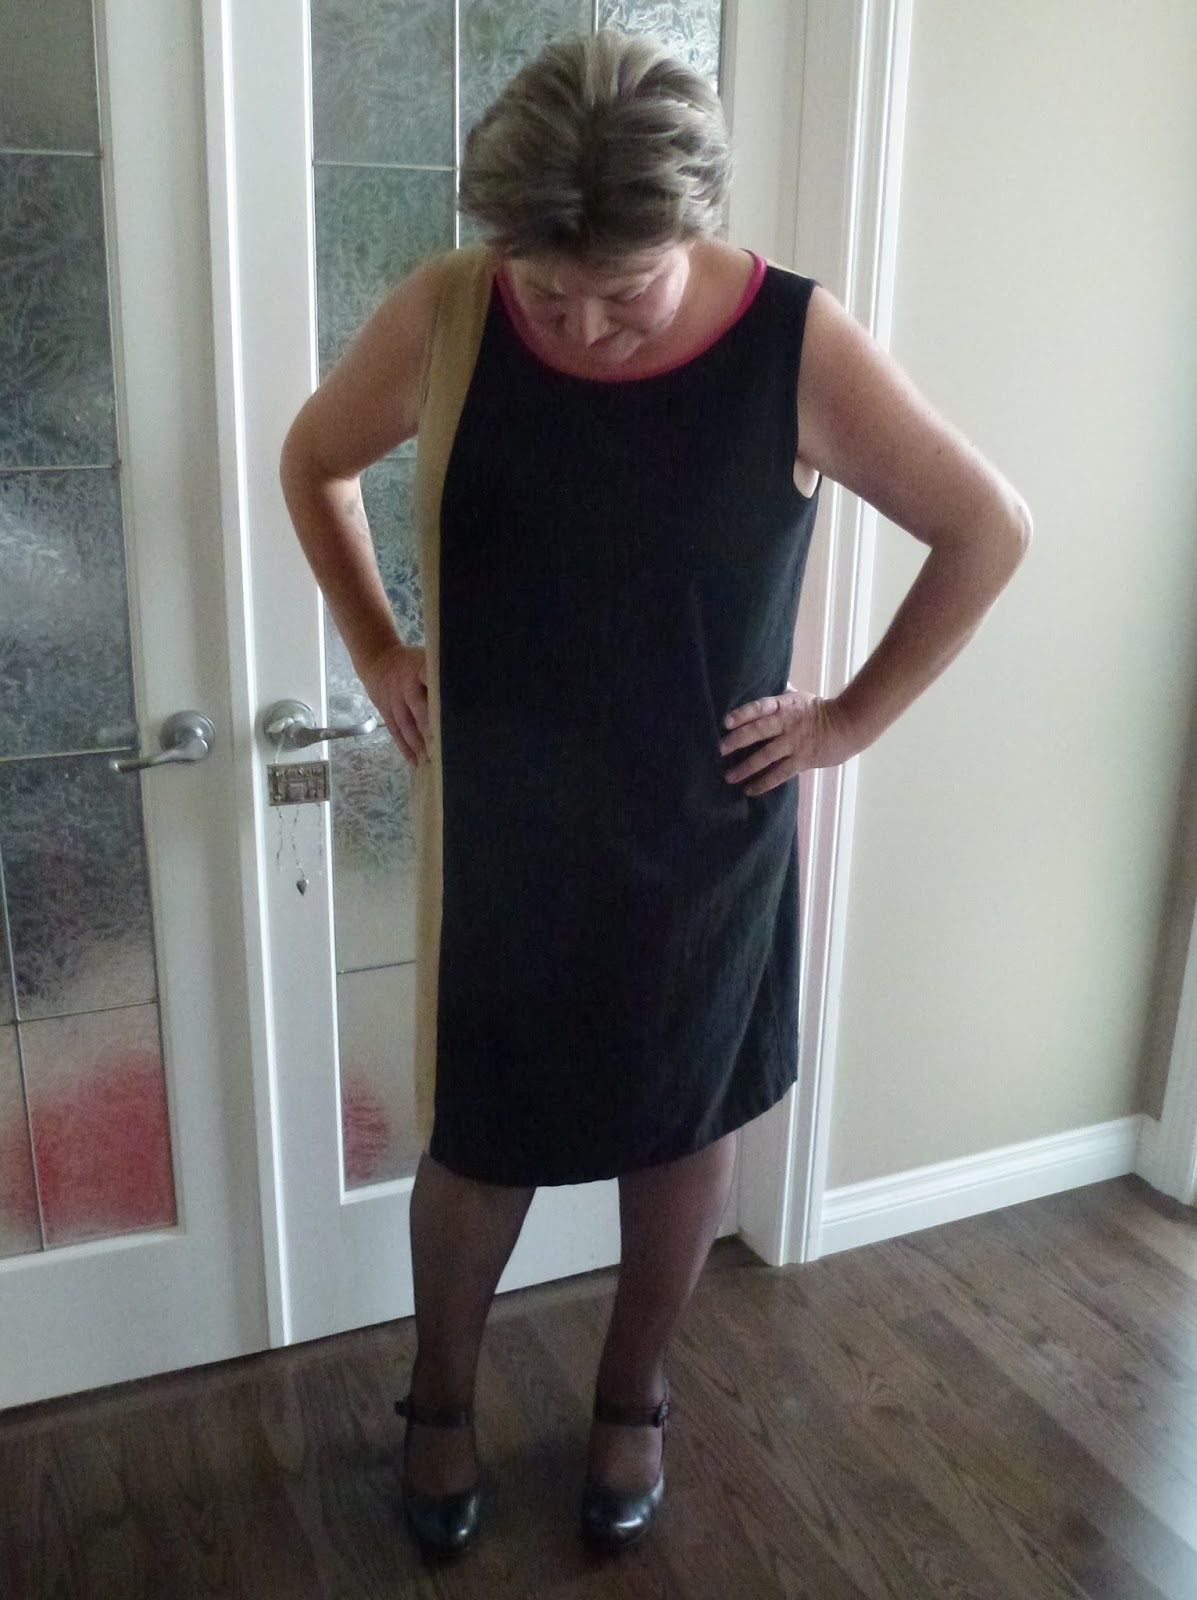
The first two items are a top and skirt that make a two piece dress. The top is my franken
Kwik Sew 3752 and the skirt is from
Simplicity 4221. The fabric is an Ikat
Hiatchi Sweater Print from
Fabric.com. The skirt is lined with black Bemberg and has a lace border. I blogged about these two items
here.
The next item, which I actually completed last of all is a jacket cardigan from
McCalls 4466. I changed the neckline from being a round neck to a more 'V' line as this is a casual cardigan. The fabric is an orange ponte knit from
Fabricland and I LOVE the fabric. The cardigan had been tissue fitted during my
fitting class. There are some changes that I could have made - I have a feeling that I messed up the centre front and have more fabric in the front that I should have. Ho hum - I can fix that next time! I am happy with how the back fits, and if I had stood up straight during the photo session you would have been able to see how it fits my round upper shoulder and swayback. A nice casual (and yet fitted) cardigan! It picks out the orange in the dress very well.
A little peek inside - I did not touch my serger with this! All the seams were sewn then the edges zigzagged and pressed open. The shoulder and centre back seams were also top-stitched open. I hand-stitched down the seams of the sleeve near the cuffs so that they looked more professional. It took a lot longer to sew, but I really liked the process here.
Ah yes. My black corduroy skirt. This is the second one that I made. The first was blogged about
here, but I really did not like how it looked so I made another! (I will do something with the first one to make it wearable - probably by cutting off about 10" in length!)
This straight skirt is from
Butterick 4877 and I first blogged about the pattern here. This time I just lengthened the yoke to make a straight skirt, pegging the hem 1" on the side seams. I inserted an invisible zip - I really have not master a lapped zip, and have managed without one so far! The skirt is, of course, lined and I have to say that I feel great in it. I love the silhouette and have cut out another two - one in brown jumbo corduroy and one in a tartan fabric (or it may be plaid - I will need to see if I can ID it!)
This top (same Kwik Sew pattern as above) feels great - it is a cotton/lycra mix and I really should have ironed it again before putting it on . . . . ! With the black skirt it looks OK - I probably would not wear it just like this, but with a cute scarf I think the outfit would really pop! The only difference between this top one and the orange patterned one above is that I put a nice long polo neck to keep me snuggly warm!
Another headless shot - this means that I was pulling a face or it is out of focus!
This cardigan is my final piece, and I originally blogged about it
here. This cardigan is part of a two piece and is a
Linda MacPhee pattern. I thought that two layers of animal print was a little too much and made the plain brown top instead.
Yep, you are right - I need to adjust the lining of the black skirt as it is pulling slightly on the vent on the back of the skirt.
Here we have the brown top and orange Ikat skirt. I really like this look as well . . .
And to finish it off - with the orange cardigan. I think this color rather suits me and I shall have to get some more!
Here we have the begining of . . . .
Jazz hands. Well, sort off! It looks more like I am pushing the photographer (my father) away! Sorry Dad - you did a grand job!
There are 9 looks here out of my 6 pieces and I already have the top that matches the brown cardigan for a couple more looks. I am really happy with these garments - I think that I have moved on quite a lot from my
K.I.S.S collection. This is mostly down to feedback from yourselves and I really appreciate comments - so thank you!
I learned quite a few things during this collection, a lot of it from studying these photos. I can't believe the difference between looking at photos and looking at myself in the mirror!
1. Shorter skirts are OK
2. Longer gored skirts need to be made in very drapey fabrics
3. A shorter jacket/cardigan would probably look good too - worth trying that next time
4. I love a fitted skirt. Elastic waistbands are great, but I really like the fitted one on the black skirt
5. I love, love, love hand sewing. There was not much in this - the cuffs on the orange cardigan and the lining of the black skirt, but I do like slowing down the pace and hand sewing.
6. Not everything needs to be serged! I plan to use more couture techniques in future garments - where appropriate of course, such as french seams, Hong-Kong finishes, interlining etc. instead of whipping everything through the serger!
7. Yes, you are right. Despite avidly watching America's Next Top Model, my posing is pretty poor - but there is a new season starting soon so I will see what I can do!!
I also think that my fitting class has helped a lot - I can't believe how fitted the orange cardigan is and how good it feels. There will be many more of these garments - taking into account the alterations mentioned above. I can't wait to start!
To finish off, here is my compilation photo:
PS - If you would like to see more photos, they are on
Flickr, just make sure you are sitting comfortably as there are LOADS! Apparently there is a monthly upload limit, and I exceeded it with this batch. So soon in the month as well!