I was really pleased with my 'Phoebe' jacket, but knew that there was definately room for improvement. I have rather rounded shoulders, and the jacket tents out about 6-8" down from my neckline on the back. What's to be done? Well, how about adding a centre back seam and using my jacket pattern that was fitted to me during a Palmer Pletsch sewing class? These are the adjustments that are needed to make a jacket/top fit well on me.
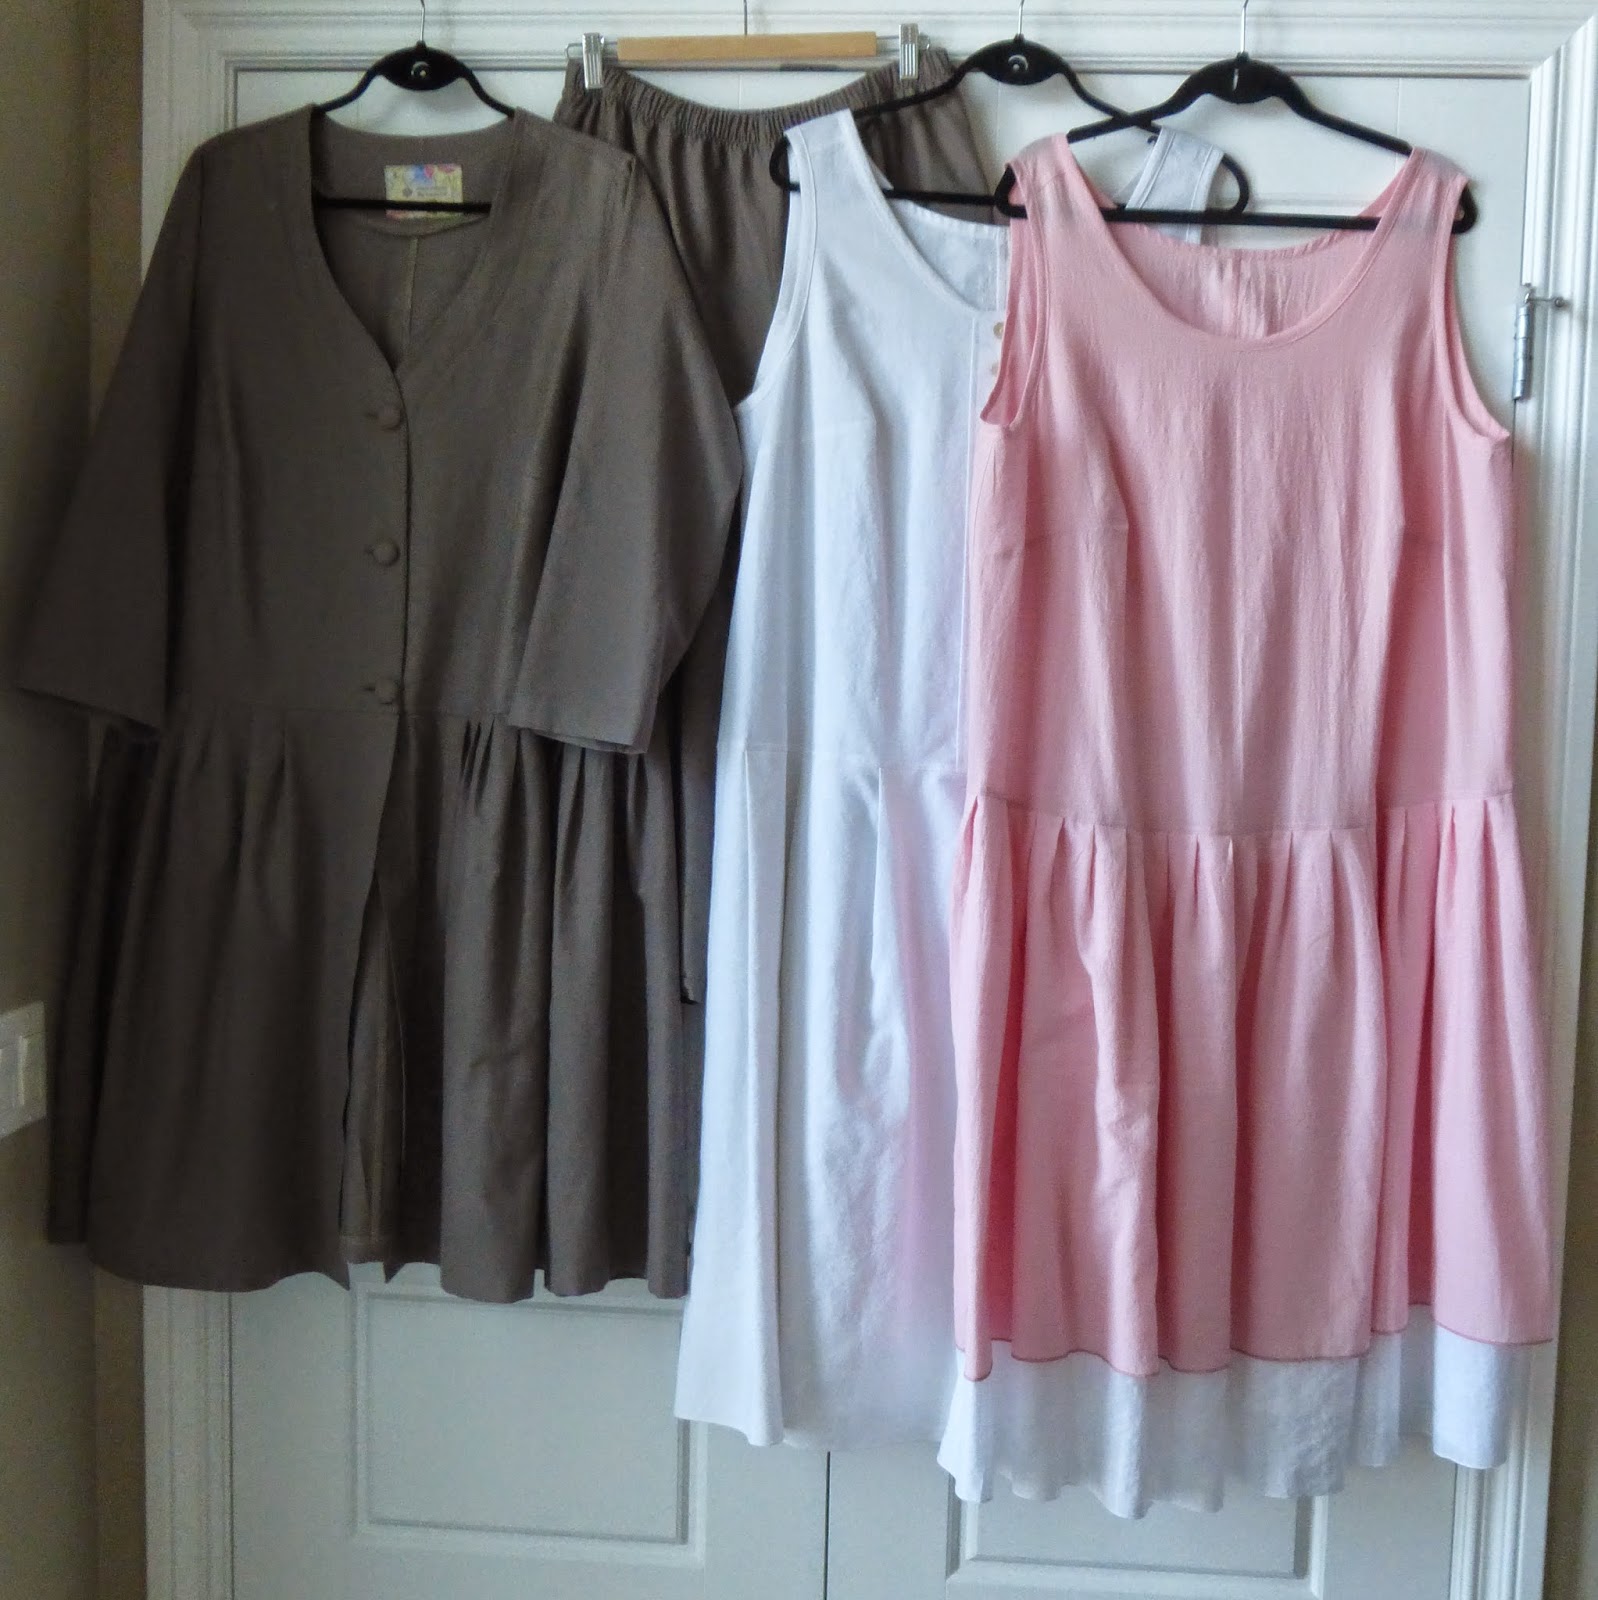
As you can see there are two rather large inserts that curve the pattern/fabric over my back and they really make all the difference. So I made a jacket and a matching Sorbetto vest top.
Here is the Sorbetto top. I love this colour!
I think that I need to break work in gently with the Lagenlook/TG Style, and the cropped Jaqueline trousers, Sorbetto top and Phoebe Jacket will be a great starting point! There is not much to say about this as it is probably the 15th or 20th one I have made! But there are a couple of things to point out! The back has a centre back seam to accommodate my rounded shoulders and lower back and I used the raw edged bias binding for the arm and neck openings as well as the hem. I am more than pleased with this and will be wearing this look to work tomorrow!
This is a close up of the front of the Phoebe Jacket (above). I used the leftover shell buttons from one of my SWAP dresses, and made some loops from the bias binding, folded in half so that it was a .25" wide. I probably could have pressed semi-circle loops as the bias binding was very biasy! Three seemed a good number (and I only had three buttons leftover!), and they were placed about 4" apart. I attached them to the edge of the jacket, then sewed on the ribbon facing, and then top and edge stitched the facing down, so the loops were caught about three times with stitching so they should hold up well.
I like to think of it being a twinset - Lagenlook style! With an obligatory pearl necklace!
Again, raw edged bias binding attached to the neck and hemline, using a triple zigzag stitch.
The jacket looks great with the off-white Jaqueline top as well.
I wore this to a Dr's apointment today and felt fab-u-lous!
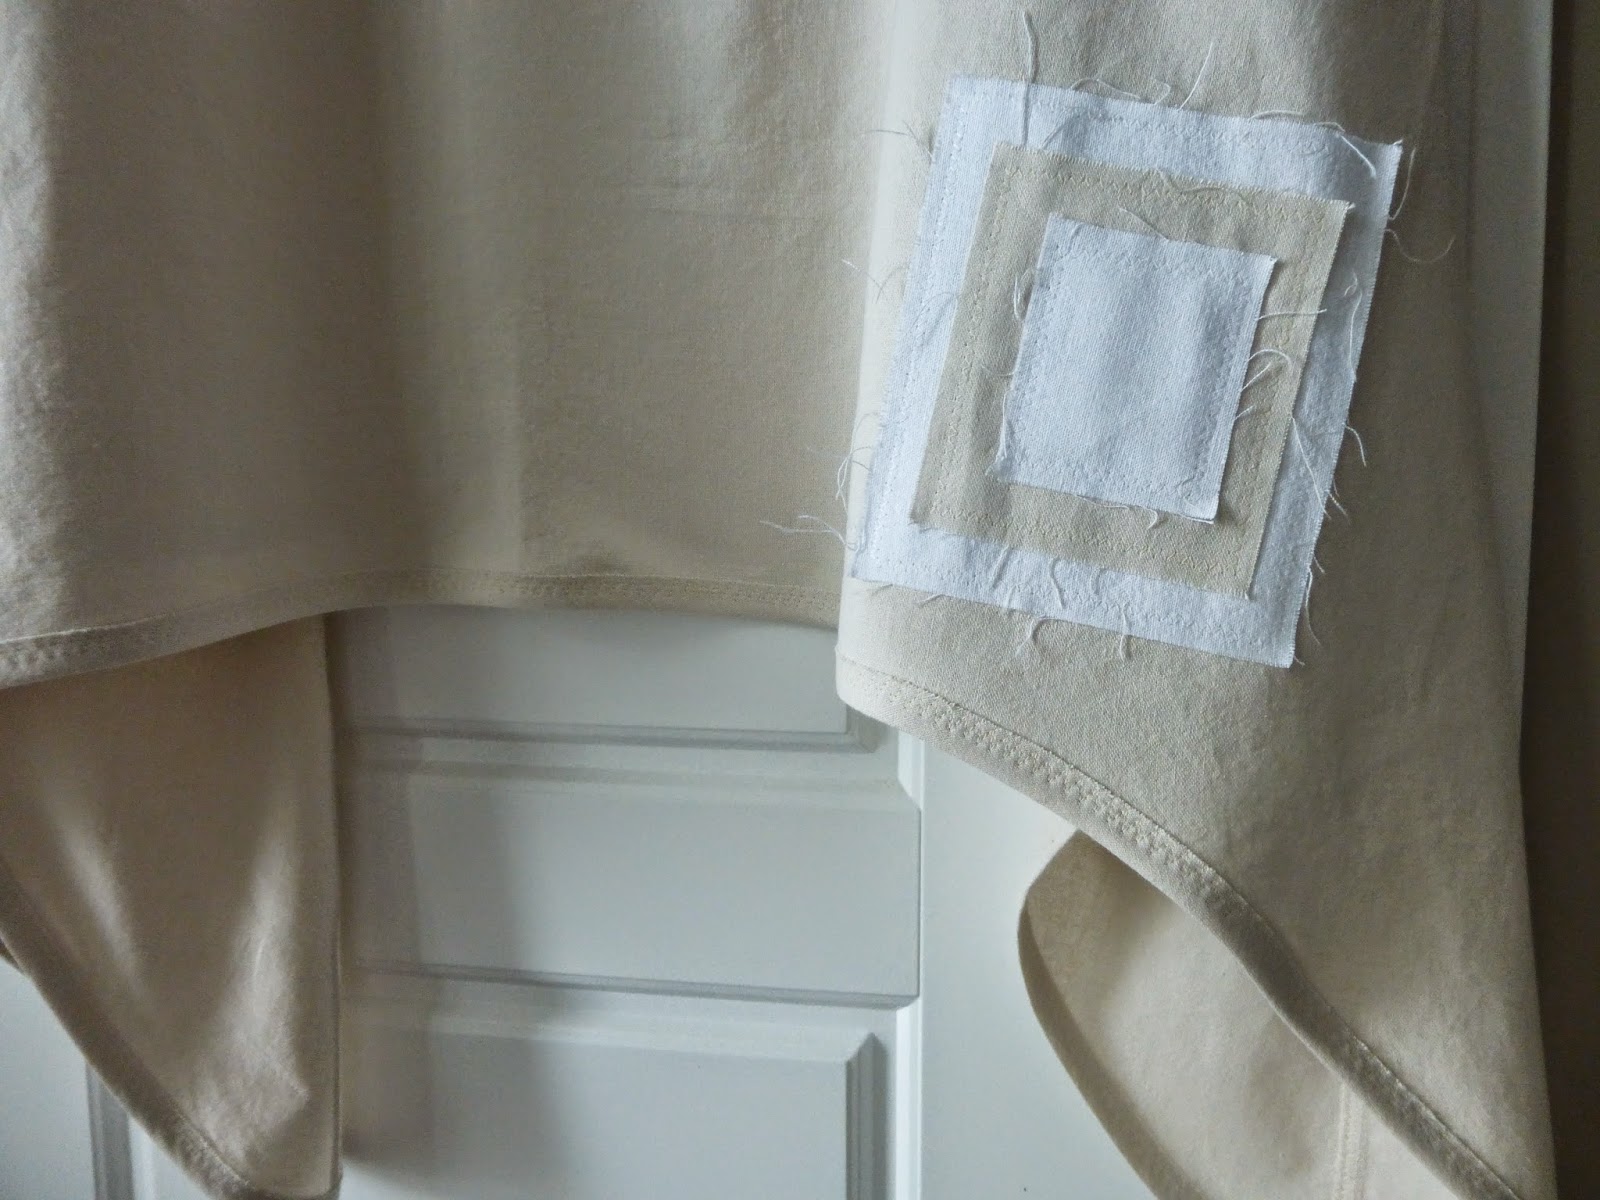
A close up of the hem, which is surprisingly and pleasingly weighty. Not to much, not too little. Just right - who'd a thought!!
Now I love this colour sooooo much, that I may have nipped into the fabric store and bought another two metres (buy one metre, get one free, so 4 metres in all). I'll probably make a pair of cropped trousers and there will be enough left over for another (undetermined) project.
Next up . . . . . another jacket in a pale blue, and some dusky rose cropped trousers. I will also work at getting some 'on the body' photos so you can see how the garments really look - especially the difference with the back seam in the jacket!
Thursday, May 28, 2015
Wednesday, May 27, 2015
Neck Adornments
I love jewelry. Sparkly things are fun. And usually expensive. So what is a girl to do? That's right . . . make your own. I have been making my own earrings/necklaces/bracelets for quite some time. I pick up pretty beads and findings here and there, but quite frankly - they are all rather 'square'. Lovely looking, but not too much character. I really like the steampunk style - especially the necklaces with leather in them. But they look like a lot of work, so I filed these thoughts away for another time . . . . until I saw some necklaces that Tina Givens had on her Facebook page:
Hmmm. Interesting. What to do, what to do? So this is what I did . . . . .
I made some necklaces.
With some beads that I had tucked away. The stones above are actually amethyst. The straps vary in width from 1/8" to 3/4". The wider straps are from scraps of leather that I picked up over the years - a bag of offcuts for a few dollars or pounds.
This is probably my favorite - a double stranded Lapis version with metal spacers.
And they double up pretty well.
The skinnier straps are from leather from my local craft shop. It is quite thin so I doubled it up. The leather is then attached to a a couple of metal clasps that are used to clip onto ribbon.
I then strung a few beads together with some small clasps on each end so that the straps can be changed out if I prefer black instead of brown, etc., and also so that I don't need to have a strap for each necklace.
Good grief - where did these all come from?!
I love this version of pearls with Swarovski crystals in between!
Have you tried your hand at jewelry making? Any top tips?
Hmmm. Interesting. What to do, what to do? So this is what I did . . . . .
I made some necklaces.
With some beads that I had tucked away. The stones above are actually amethyst. The straps vary in width from 1/8" to 3/4". The wider straps are from scraps of leather that I picked up over the years - a bag of offcuts for a few dollars or pounds.
This is probably my favorite - a double stranded Lapis version with metal spacers.
And they double up pretty well.
The skinnier straps are from leather from my local craft shop. It is quite thin so I doubled it up. The leather is then attached to a a couple of metal clasps that are used to clip onto ribbon.
I then strung a few beads together with some small clasps on each end so that the straps can be changed out if I prefer black instead of brown, etc., and also so that I don't need to have a strap for each necklace.
Good grief - where did these all come from?!
I love this version of pearls with Swarovski crystals in between!
And look what I found in my local Fabricland - small strings of beads all matching nicely and looking good together, ready to be made up into some lovely necklaces!
Sunday, May 24, 2015
Results and Moving On
I am thrilled to share with you that I came third in the Artisan's Square SWAP this year. Wow! I know that my collection was a slightly unconventional one, and there really was some great stiff competition. Woot! I really must drop a line to Tina Givens and let her know! Thanks to all who voted for me, and those who set me on this track to try out these patterns. One last pic . . . . . !
So, what next? Well, one of the garments that would enhance this collection is a cardigan/jacket and I spent an inordinate amount of time auditioning patterns, and not really getting anywhere. And then I saw a sew-a-long on Artisan's Square for a 6PAC (6 pieces of clothing). The guidelines
- One lightweight jacket or sweater in a neutral
- Another lightweight jacket, sweater or shirt in a colour or lighter neutral or a print
- A pair of shorts, trousers, or capris in a neutral
- A skirt in a neutral or colour
- A shortsleeve shirt, blouse, or t-shirt in a neutral
- Another shirtsleeve shirt, blouse, or t-shirt in a neutral.
Hmmm. Interesting! Well, here are the fabrics that I am going to use:
All linen/cotton fabrics, off white, pale blue, navy and dusky rose (I know that it looks like baby pink, but it isn't. Honest!) So here is what I have made so far . . . . apologies for using my body double - but there are times when it is too much effort to get all dressed up, sort out the camera, tripod and timer, organise the houndies so they don't photobomb the pics, get all showered and sort hair etc.,etc.,etc.,
So this is what I have made so far:
I started up with a pair of trousers in the off white fabric. Same as before, I used the Jaqueline pattern from Tina Givens. And these are the changes that I made: Lifted the crotch to a regular height (I used my regular pants pattern and therefore created front and rear crotch curves), created side seams (the pattern has you cut both legs on the fold), add seam allowances and cut out pockets using the Phoebe pattern. The first time I made these took some time due to the pattern changes, but now I can make them up pretty quickly and they fit me well!
I then used the Phoebe pattern to make a casual jacket. I moved the front pattern piece (that is usually cut on the fold) about 1.25" away from the edge of the fabric, and cut out two pieces. I only use the inner pattern pieces, although I suspect this would look pretty cool with two layers. For this version I used a rolled hem for the bottom of the jacket and lengthened the sleeves to 'bracelet' length. I used bias binding for the neck edge - (self fabric, using a Clover bias binding maker). I cut my BB at 1.25", the extra .25" seems to make a better binding to my mind. For the facings where the buttons/buttonbands are, I attach a piece of ribbon to the right side near the edge, then press it to the wrong side and sew it down. This gives a smart, non-bulky finish.
And I sewed a couple of patches on the back. Just because! It is shown here with my white linen Jaqueline slip from my SWAP (the one with a lace patch on the front) and a necklace that I made (more on the necklace in a future post).
Then I made another Jaqueline slip. For this version, instead of having an asymmetrical hem (which is a pain to cut out) I cut both the front and back pieces in half, and cut them out using the longer dropped hem edge. A bit like a Zelda really, but without the frill. This time, for the arm and neck openings, as as well as the hem, I attached bias-binding, just folded in half. I used a three step zigzag stitch and it seems pretty sturdy. Here are my three off white pieces together:
And some more patches!
This is the reason that I was happy to use a raw edged binding. I had washed my white linen slip (that had a raw edge neck and arm opening) and the finished result is a soft and fluffy binding:
That is three pieces all finished - I have another two two pieces completed - using the dusky rose fabric - and will share those in a couple of days! Here is a sneak peak of the off white jacket and pants, with the rose top:
What are you working on? Wardrobe building or having fun with individual pieces?
Monday, May 18, 2015
Accessorise, Accessorise, Accessorise
I have to say that after finishing my garments for the SWAP, I felt a little lost . . . . . what to make next? After much humming and hawing, I decided to make some accessories. There were a couple of things that inspired me, firstly a posting by Communing with Fabric that spoke about a Koos Loop Infinity Scarf. That led me to a 'how to' posting by Dragon Threads and some comments to that post then took me to this Nancy Zieman video. And I made a couple of the smaller mobius scarves:
The first is a mystery jersey that was $12.99 with 40% discount. I think that it is a rayon/poly mix. It is very soft and feels lovely! I bought 1m and the scarf above is 24" x 36" so I have some leftover for another project. As you can see, it works well with both a white summer slip from my SWAP and also new grey cardi that I made with cotton sweatshirt jersey and Simplicity 2154. This grey jersey is the reason why I made these scarves, as I read a post on the Vivienne Files about integrating a red handbag. The author recommends wearing a grey 'column' (trousers, vest top, cardi/jacket) and bringing in the red with a scarf, shoes, bag etc. Having just finished the cardi, a red scarf was a no brainer!
And if you love one red scarf . . . . why not try another?
This time I used a red and black rayon batik. I actually bought this about 8 years ago at a sewing show in Toronto from a company called Batik Butik. The plan was to make a regular scarf and fray the edges, but I am glad that I held off as the fabric drapes beautifully and looks a lot more polished this way.
I am really pleased with these two quick and easy projects - maybe not ideal for the upcoming warmer months, but I find that they keep the chill off my neck when sitting in the office at work. Have completed these, I have also gone a little crazy with some necklaces and started on a 6PAC - 6 co-ordinating items (yep, and challenge on Artisan's Square) and I plan on making some cardi's/long sleeved tops to work with my SWAP. More details to follow!
Do you make your accessories? What are your favourite makes?
Labels:
cardi's
,
mobius scarves
,
Nancy Zieman
,
Simplicity 2154
,
Summer 6PAC
,
SWAP
Thursday, April 30, 2015
Out of Alberta - SWAP 2015 Complete
Phew, I was late to the game, but I completed my SWAP (sewing with a plan) this weekend. This is an annual contest that runs from December through to April and involves making around 11 garments ( I think that the total may vary from year to year, and the rules certainly do). This year, they were as follows:
This year, I'd like to see us turn our attention back a bit to the original concept of a wardrobe that works well together -pieces that all coordinate and form a cohesive collection with a huge number of possible combinations. However, we're still a sewing board, and I still believe "sewing" should be the primary focus.
So.... Let's return to the tradition 11-garment format, with all the tops working with all the bottoms, and wildcard garments that work with every other item.
This year, we need to make:
5 tops
3 bottoms
3 "wildcard" items
For our "sewing" focus -and this year's twist- let's make at least one garment that is reversible, transformable, or upcycled from another garment. For instance: a dress that can be worn as a shirt, a pair of pants that can roll up to be worn as shorts, or a jacket that can also be a dress. "Upcycling" includes remaking an older garment into something new, taking a vintage pattern and modernizing it into a more current style, or recycling the fabrics or notions from another item to incorporate it into something new. The original item to be reworked does not need to be a garment; you can remake a dozen scarves into a skirt or transform an old handbag into a collar and cuffs -use your imagination.The "wild card" options can be just about anything you like, but they must be "garments" not accessories (hats, bags, blankets, etc.)
As I mentioned in previous posts, here, here and here, I wanted to try something very different, and I used patterns from a designer called Tina Givens. She has her own couture line here, and she certainly has an unusual 1920's meets 'Out of Africa esthetic.
This is what my final collection looks like:
Before editing. I actually made more clothes than I needed. Just in case! Unfortunately, the pair of patterned trousers did not make the final cut as not all my tops worked with them. Nonetheless, I think that they are great, and they will be worn. Lots!
Here are my finished 11 - five tops, three bottoms, two dresses (that can be worn on their own or doubled up as tunics) and a duster coat/tunic.
Here are the individual garments:
And a few close up photos:
5 tops x 1 pair trousers (#1) + 1 duster = 10
5 tops x 1 pair trousers (#2) + 1 duster = 10
5 tops x 1 pair trousers (#3) + 1 duster = 10
2 dresses on their own + with/without the duster + with the trousers (#1) = 8
2 dresses + with the trousers (#2) + with/without the duster = 4
2 dresses + with the trousers (#3) + with/without the duster = 4
For a grand total of 46 looks! Well, that's 'Me Made May' sorted!! And on the subject of numbers, Tina Givens actually sells her Couture Collection, and I priced up some of the items that I had made. For my costs I did not pay more that $8/m, the trousers took 2m and the slips/dresses/jacket 3m:
Trousers x 3 = 3 x $270 = $810. My Costs 3 x $16 = $48
Slips x 5 = 5 x $279 = $1395. My Costs 5 x $24 = $120
Dresses x 2 = 2 x $349 = $698. My Costs 2 x $24 = $48
Jacket/Tunic x 1 = 1 x $308. My Costs 1 x $24 = $24
Now, it would be fair to throw in some thread, buttons, elastic, 3 x TG Sewing Patterns etc - let's say $50. I am not going to price out my time as I sew as a hobby - this is my entertainment. So let's look at the totals:
TG Couture = $3201 or $291 per item
Spotty Dog Social Club = $290 or $26 per item
Interesting. My costs are just less than 10% of the designer originals. The Couture items are actually sold in a shop in Calgary - I'll have to wear some of my collection and then go and stalk the shop! Do you cost out your clothes? Do you think that it is fair to compare with the Couture originals?
Meanwhile, back with the SWAP . . . . . I checked the dates on Artisan's Square (who run the SWAP) and I posted on February 24th that I intended on taking part - so about 8 weeks to make these garments. Not bad really - the joys of using simple but fun patterns!
I'm just waiting to see what the instructions are for submitting photos etc - I have dozens more photos, and will attempt to load them to Flickr, for you to see. I've no idea if that link will work - I don't use Flickr very often!
Finally, I wanted to upload just one more photo - after all, Alberta is cowboy country!
This year, I'd like to see us turn our attention back a bit to the original concept of a wardrobe that works well together -pieces that all coordinate and form a cohesive collection with a huge number of possible combinations. However, we're still a sewing board, and I still believe "sewing" should be the primary focus.
So.... Let's return to the tradition 11-garment format, with all the tops working with all the bottoms, and wildcard garments that work with every other item.
This year, we need to make:
5 tops
3 bottoms
3 "wildcard" items
For our "sewing" focus -and this year's twist- let's make at least one garment that is reversible, transformable, or upcycled from another garment. For instance: a dress that can be worn as a shirt, a pair of pants that can roll up to be worn as shorts, or a jacket that can also be a dress. "Upcycling" includes remaking an older garment into something new, taking a vintage pattern and modernizing it into a more current style, or recycling the fabrics or notions from another item to incorporate it into something new. The original item to be reworked does not need to be a garment; you can remake a dozen scarves into a skirt or transform an old handbag into a collar and cuffs -use your imagination.The "wild card" options can be just about anything you like, but they must be "garments" not accessories (hats, bags, blankets, etc.)
As I mentioned in previous posts, here, here and here, I wanted to try something very different, and I used patterns from a designer called Tina Givens. She has her own couture line here, and she certainly has an unusual 1920's meets 'Out of Africa esthetic.
This is what my final collection looks like:
Before editing. I actually made more clothes than I needed. Just in case! Unfortunately, the pair of patterned trousers did not make the final cut as not all my tops worked with them. Nonetheless, I think that they are great, and they will be worn. Lots!
Here are my finished 11 - five tops, three bottoms, two dresses (that can be worn on their own or doubled up as tunics) and a duster coat/tunic.
Here are the individual garments:
And a few close up photos:
And I was also intrigued to see how many 'looks' I could get out of these garments. Would you care to take a look? (the answer is after the collection of photos):
5 tops x 1 pair trousers (#1) + 1 duster = 10
5 tops x 1 pair trousers (#2) + 1 duster = 10
5 tops x 1 pair trousers (#3) + 1 duster = 10
2 dresses on their own + with/without the duster + with the trousers (#1) = 8
2 dresses + with the trousers (#2) + with/without the duster = 4
2 dresses + with the trousers (#3) + with/without the duster = 4
For a grand total of 46 looks! Well, that's 'Me Made May' sorted!! And on the subject of numbers, Tina Givens actually sells her Couture Collection, and I priced up some of the items that I had made. For my costs I did not pay more that $8/m, the trousers took 2m and the slips/dresses/jacket 3m:
Trousers x 3 = 3 x $270 = $810. My Costs 3 x $16 = $48
Slips x 5 = 5 x $279 = $1395. My Costs 5 x $24 = $120
Dresses x 2 = 2 x $349 = $698. My Costs 2 x $24 = $48
Jacket/Tunic x 1 = 1 x $308. My Costs 1 x $24 = $24
Now, it would be fair to throw in some thread, buttons, elastic, 3 x TG Sewing Patterns etc - let's say $50. I am not going to price out my time as I sew as a hobby - this is my entertainment. So let's look at the totals:
TG Couture = $3201 or $291 per item
Spotty Dog Social Club = $290 or $26 per item
Interesting. My costs are just less than 10% of the designer originals. The Couture items are actually sold in a shop in Calgary - I'll have to wear some of my collection and then go and stalk the shop! Do you cost out your clothes? Do you think that it is fair to compare with the Couture originals?
Meanwhile, back with the SWAP . . . . . I checked the dates on Artisan's Square (who run the SWAP) and I posted on February 24th that I intended on taking part - so about 8 weeks to make these garments. Not bad really - the joys of using simple but fun patterns!
I'm just waiting to see what the instructions are for submitting photos etc - I have dozens more photos, and will attempt to load them to Flickr, for you to see. I've no idea if that link will work - I don't use Flickr very often!
Finally, I wanted to upload just one more photo - after all, Alberta is cowboy country!
Labels:
SWAP 2015
,
tina givens
Wednesday, April 29, 2015
Seeing Spots - AKA the Dalmatian Bra!
I really love the Pin Up Girls 'Linda Bra' with a partial band, and posted some photos here and here of the first ones that I made. I enjoyed layering the fabric and applying a spotty lace over the simplex, so I ordered some more in black (scroll down the page to the 'dotty black mesh). And this is what I made:
The base fabric is white simplex from Bra Makers Supply, I used a pack of black findings for the elastics, closures, rings etc., and black powernet for the back.
In order to make things harder on myself, I cut the base fabric and the netting/lace out separately, then used spray (fabric) adhesive to hold them together - guess how much of a mess I got into. Go on, guess!!! In retrospect, it would have been easier to have cut a piece of each of the fabrics to the approximate size that I would need, adhere them together and then cut out. The fabrics would probably still need some pinning/stitching to make them work as one piece - but that would have been easier. Sigh!
And that's is really. I cut the higher back from the power net as you can see here, it really does help to prevent the straps falling off my sloping shoulders.
I have some red and some turquoise simplex and findings kits, so I think that I may play around with the lace and see what I can come up with.. . . .
Labels:
bra
,
bra makers supplies
Monday, April 27, 2015
More Tina Givens - The Phoebe Top and Trousers and a Touch of Jaqueline
I've made the Phoebe trousers a few times already, but hadn't made the top that goes with these trousers. Here is the pattern from the Tina Givens website:
Actually, I'm kind of lying a bit. I have made the top out of white rayon (under layer) and blue patterned cotton (upper layer), but I cut the blue too short and the proportions were not very flattering, and the combination of fabrics looked like an apron that my grandmothers would have worn, so I did not complete it. Nonetheless, I wanted to give it a go - and I made it as part of the garments I was sewing for the 2015 Artisans Square SWAP:
As you can see, I only made the one layer and chose the longer inner layer. I changed the sleeves up a little and made cap sleeves, and made the same changes that I would ordinarily make - sloping shoulders, dartless FBA. I also put a seam in the back to save a little on fabric and to break up the expanses of fabric. I used my serger to make a rolled hem, and shaped the neckline a little to make it more 'v' neck. I made a small facing that I attached iron-on interfacing to support the neckline, and sewed it down with some top-stitching to keep it from rolling to the right side.
It is a cute top that looks great in these photos - once the volume has been tamed. There is a lot of fabric in this top, and when I make it next, I will take out some of the volume. What I do like - and this is rather strange, is the side seams that are curved to give tulip shape.
One of my cottons cardis (Simplicity 2154), co-ordinates very nicely with this top - and the Phoebe trousers - I'm just not sure if I would be better off with a cardi with a shaped hem, rather than a straight, horizontal one. I need to think about that!
The fabric is a white linen - the same line that I used for the trousers (above and below), and another 'Jaqueline' top (below) that I made with a cute lace patch on the front:
Here is a close up:
This is my 'Ruth' of Core Couture pose. She often stands side on/quarter turn and always looks fab!
Nothing new about this slip or the co-ordinating trousers - But I love them!
And what about the 'props'? The chair with a bag and a cowboy hat? I was taking (dozens) of photos that show all the items that I had made for the SWAP that I have titled 'Out of Alberta' so I had to throw in a cowboy hat! I'm nothing if not subtle!
Labels:
jaqueline
,
phoebe
,
SWAP 2015
,
tina givens
Subscribe to:
Posts
(
Atom
)